
To make a drawstring backpack, cut the body panels with seam and casing allowances, finish the exposed edges, form two top channels, join the body, and thread two cords through both channels from opposite sides. Attach each pair of cord ends at the lower corner on the same side, then check closure and carrying with the intended contents.
This guide covers a two-panel drawstring design with cord shoulder straps. It explains how to work out the pattern, choose attachments, and check a home-sewn sample. If you plan to manufacture the bag, the same decisions can become written specification fields. It is not a full-size sewing pattern or a universal load rating.
What Must Be Decided Before Making a Drawstring Backpack?
Decide the finished size and intended contents before drawing the pattern. A flat pouch, a boxed base, and a lined bag with a pocket need different pieces and assembly plans.
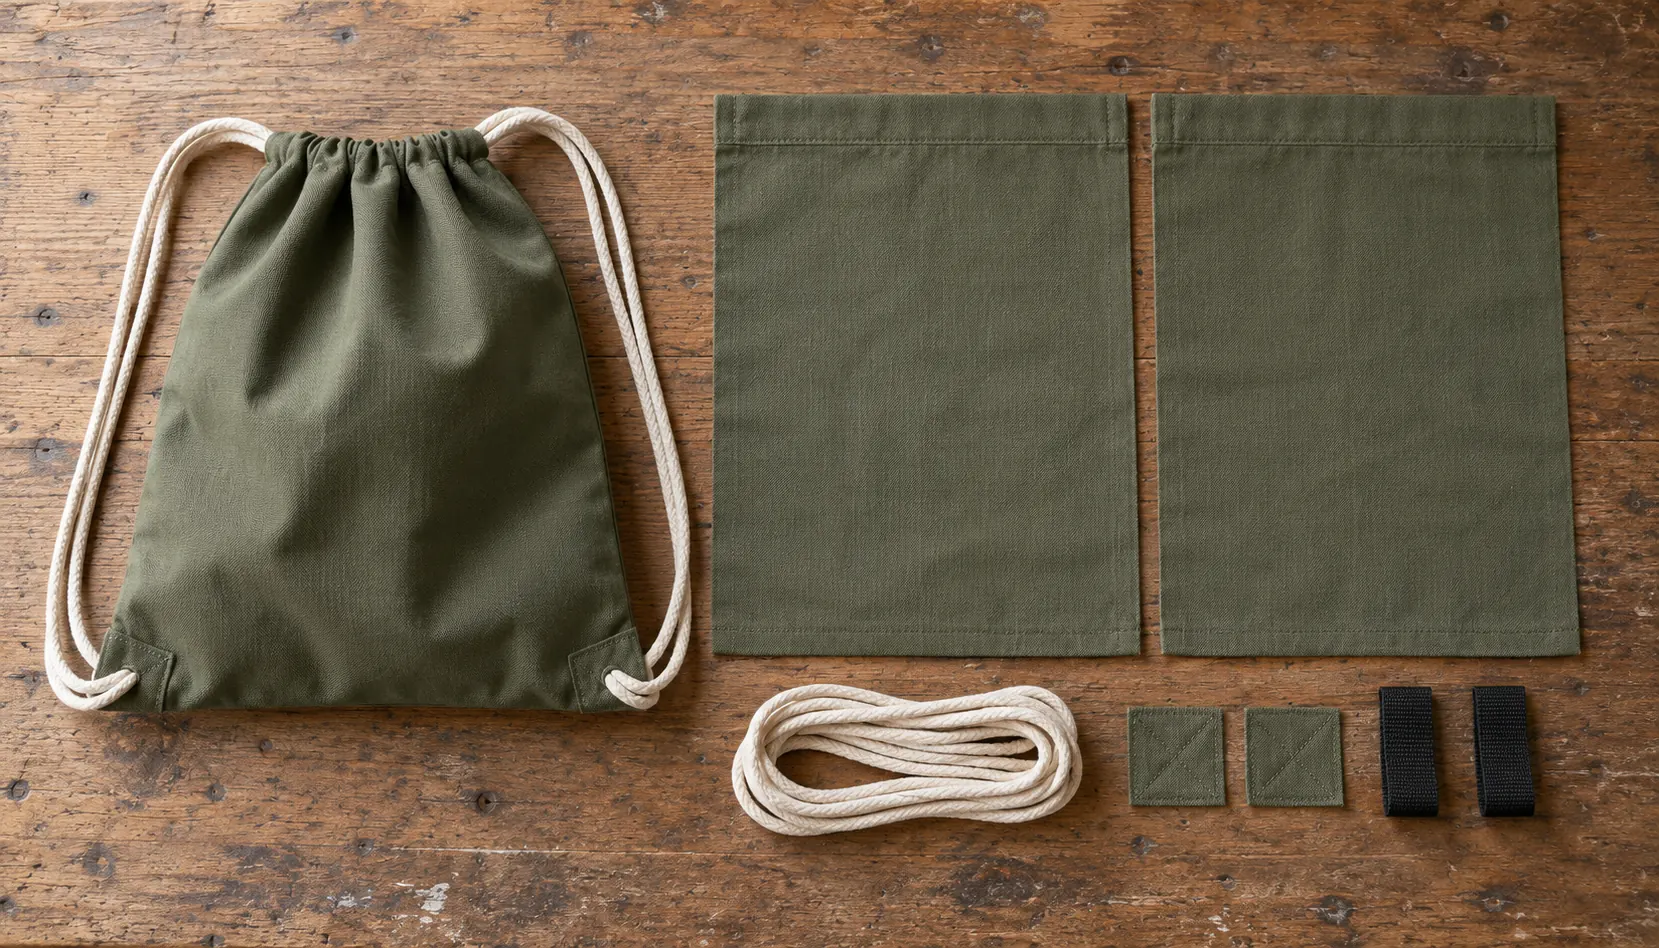
- Finished size and contents. Check the space needed inside the bag as well as its outside dimensions. A folded jersey and a stack of books need different shapes and carrying checks.
- Load and use. Record what the bag should carry and how it will be worn. Use those conditions to evaluate the cords, corner attachments, fabric, and sewn joints together.
- Fabric behavior. Note the fiber, weave or knit, coating, stretch, and fray tendency. These affect cutting, edge finishing, and how the opening gathers.
- Closure and lower attachments. Choose a folded channel or separate casing strip, then decide whether the cord ends attach through reinforced eyelets, sewn loops, or reinforced seams.
- Lining, pockets, and print. Plan extra pieces, seam intersections, and print direction before cutting. Attach a pocket while its panel is still accessible.
- Quantity. For a repeat run, record the decisions another person needs to reproduce the sample. A drawing, component list, and sample can each carry part of that information.
Keep a short decision sheet beside the pattern. It gives you something specific to revise when the trial bag is too small, the casing binds, or the straps sit unevenly.
How Do You Turn Finished Dimensions Into Pattern Pieces?
For the simple flat two-panel construction described here, add the side seam allowances to the finished panel width. Add the bottom seam allowance and the fabric consumed by the top casing to the finished panel height. First define where you measure the finished height: the top edge of the casing and the opening below it are different reference points.
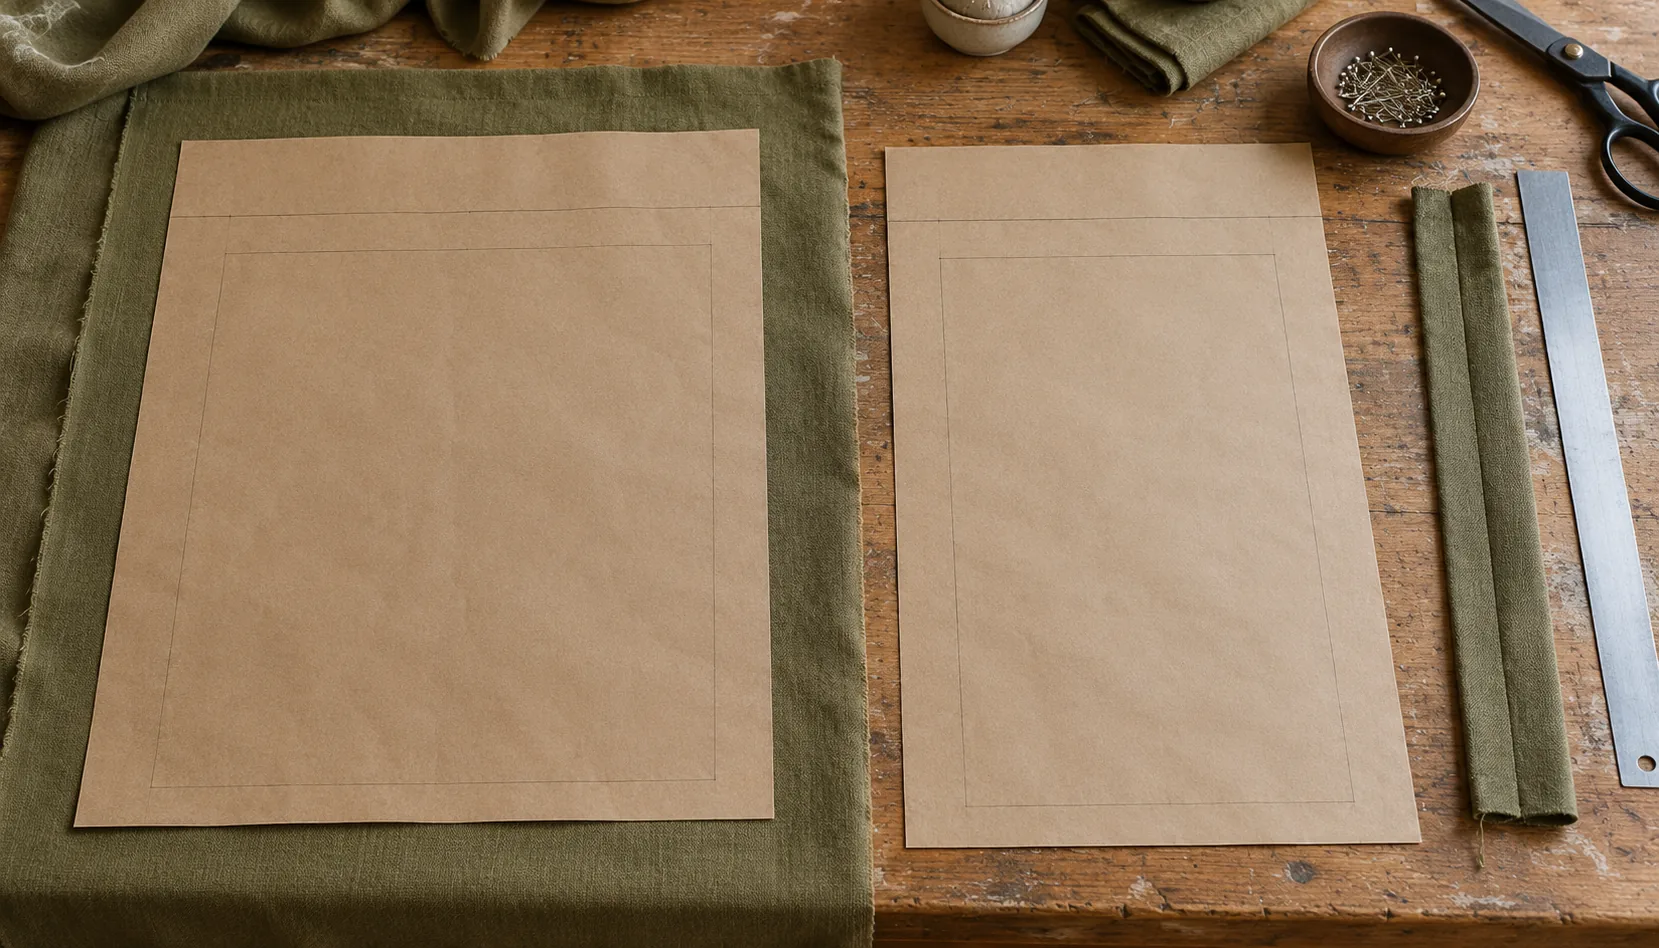
| Pattern field | What to allow for | What to check before cutting |
|---|---|---|
| Main panel width | Finished width plus the allowances for both side seams | Width measured between the planned seam lines |
| Main panel height | Finished height plus bottom seam allowance and casing take-up | Your chosen finished-height reference and each top fold |
| Separate casing | Its own strip width, length, end hems, and attachment allowance | Finished opening and clearance for both cords |
| Boxed corners or separate base | Construction-specific folds, depth, or extra panels | A trial assembly; the flat-panel equation no longer covers every dimension |
| Lining | Its own seam, joining, and turning allowances | How it meets the opening; it need not duplicate the outer casing |
| Reinforcement pieces | The area and layer stack around the chosen attachment | Position relative to the seam, hole, or loop |
If you fold one long piece at the base rather than joining two panels, there is no bottom seam to add at that fold. A separate base or a French seam needs a different allowance plan. Follow one construction throughout instead of mixing numbers from unrelated patterns.
Mark grain and print direction, casing folds, channel exits, and attachment positions. Fold a paper strip or scrap fabric through the proposed casing to check its take-up. Then assemble a trial body and check the usable space with the intended contents; outside dimensions alone do not prove that everything fits.
For production, separate the nominal dimension from the acceptance tolerance. State the measurement points, whether the bag is laid flat or loaded, and the measurement method. A visual sample reference can show the intended appearance, but it cannot replace a written dimension or tolerance.
Which Materials, Cords, and Attachments Fit the Design?
Choose the fabric, cord, casing, and lower attachments as a combination. A cord that feels right in the hand may bind in a narrow casing or need a different end attachment.
| Decision field | What to evaluate | What to record |
|---|---|---|
| Body fabric | Stability, stretch, coating, fraying, and ability to gather | Fiber, construction, finish, coating side, and approved fabric reference |
| Fiber choice | Compare the actual fabrics, not just their names | Start with nylon bag material and polyester bag material for fiber-level context |
| Cord | Diameter, flexibility, surface feel, and end treatment | Material, construction, diameter, and trial length |
| Casing | Room for both cords and movement through the exits | Finished internal clearance, fold widths, and stitch position |
| Lower attachment | How the cord ends connect to the body | Type, position, reinforcement, and assembly details |
| Direction and placement on the finished bag | Panel pairing, placement marks, and approved artwork version |
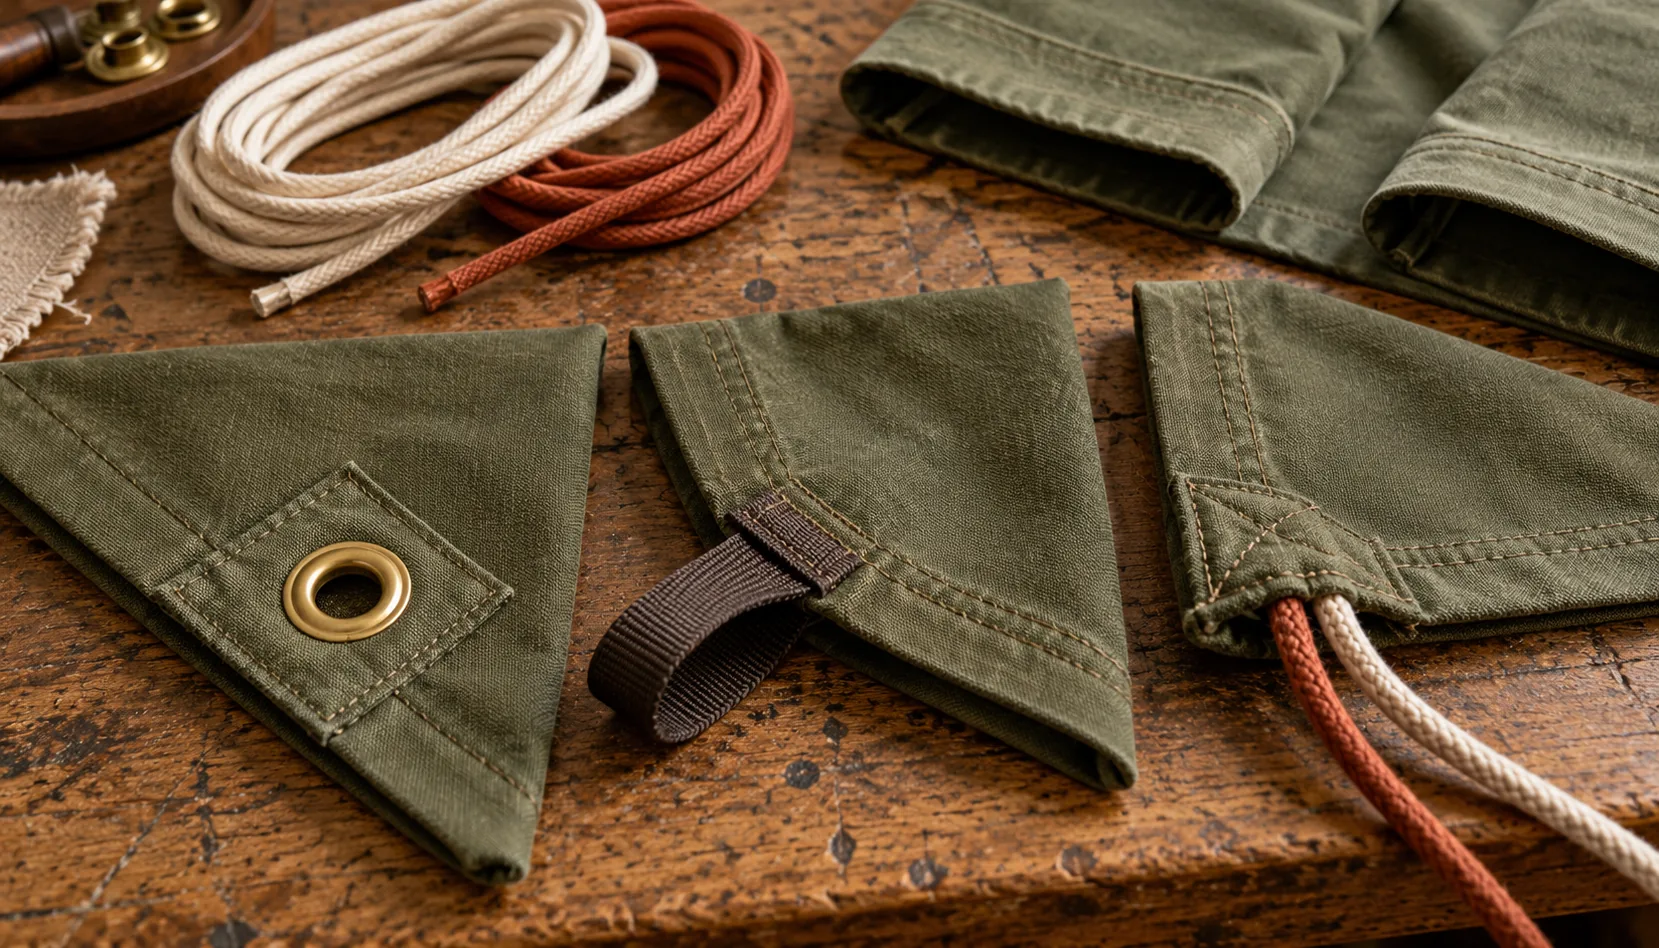
The lower-corner options differ in construction, not in an automatic strength ranking:
| Option | How it is formed | Checks for the chosen design |
|---|---|---|
| Eyelet or grommet | A metal fitting set through a prepared hole, with cord ends passed through and secured | Hole size, material stack, reinforcement, setting tool, and whether the end finish can pull through |
| Webbing or fabric loop | A loop sewn into or onto the body, with the cord secured through it | Loop dimensions, seam position, stitching, reinforcement, and cord movement |
| Reinforced sewn corner | Cord ends held in a sewn joint at the lower corner | Cord placement, material stack, sewing method, and the assembled attachment’s behavior |
Follow the component supplier’s setting instructions where hardware is used. A grommet is not inherently suitable for a heavier load, and a fabric loop is not inherently limited to a lighter one. Check the actual attachment and bag under the conditions you specify.
For a manufactured version, give each critical component a controlled reference in the component list or bill of materials. Keep its code, construction, finish, color reference, quantity, and placement distinct where they matter. Let the drawing point to that record rather than maintaining conflicting cord or reinforcement specifications in several files.
How Is the Body Sewn and the Cord Channel Formed?
The following sequence suits an unlined two-panel bag with folded top channels. Separate casings, lining, French seams, and sewn-in corner loops can change the order.
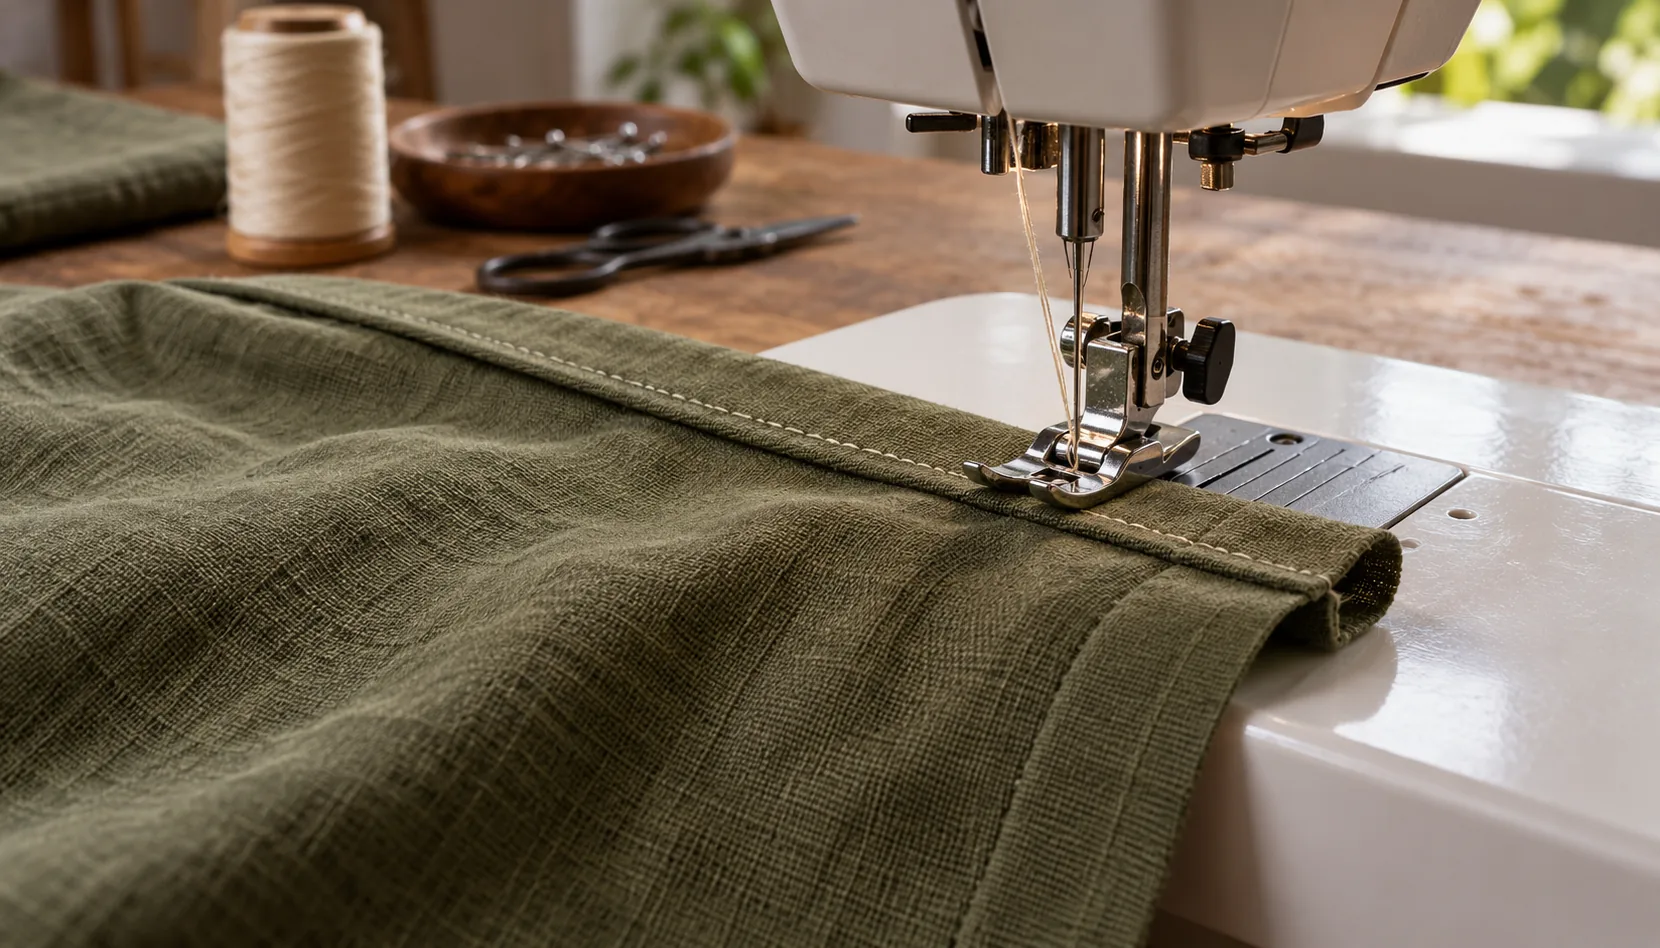
- Cut and mark. Prepare the main panels and any reinforcement or loop pieces. Mark the casing folds, channel exits, and lower attachment positions.
- Prepare the edges and attachments. Finish the exposed edges using a method suited to the fabric. If the lower loops or cord ends will be caught in a body seam, position them before closing that seam. Attach any panel pockets now.
- Form the top channels. Finish the channel ends, fold the top edge as planned, and stitch the lower folded edge. Make one channel on the front panel and one on the back. Leave their side openings accessible and do not sew across the cord passage.
- Join the body. With the panels positioned for your chosen seam, sew the sides and bottom without closing the channel exits. Finish the body seams as specified. If clipping a corner, do not cut into its stitching or attachment reinforcement.
- Complete the base and lower attachments. Turn the body and check its shape. Set any post-assembly hardware where the construction gives access, following its instructions. Sewn-in loops should already be captured in their intended seams.
- Inspect before threading. Check the casing entrances, seam allowances, reinforcement placement, and exposed edges. Correct a blocked passage before adding the cords.
A French seam encloses the raw edges through a two-pass sewing and folding process; it needs allowances and an operation order planned for that method. A lined bag can conceal seams, but that does not remove the need to check the joins and turning opening. Coats’ seam types guidance distinguishes seam construction from stitch choice and describes edge-finishing methods. Use it to describe the joint, not to infer a finished bag’s carrying capacity.
For repeat production, define the sewing fields that affect this design: seam and stitch construction, material layers, allowance, thread and needle selection, stitch spacing, start/end treatment, and attachment geometry. Select the fields the joint needs rather than assuming that “double stitched” is a complete instruction. A neat-looking seam and an acceptable load result are separate checks.
Written operations can help people reproduce the sample. Traceability also needs actual component, version, and inspection records; a sequence alone cannot identify the cause of every defect.
How Do You String a Drawstring Backpack With Two Cords?
Use two separate cords, each passing through both top channels. The first cord’s two ends return to the right side; the second cord’s two ends return to the left. Each pair then connects to the lower attachment on its own side, forming the two shoulder straps.
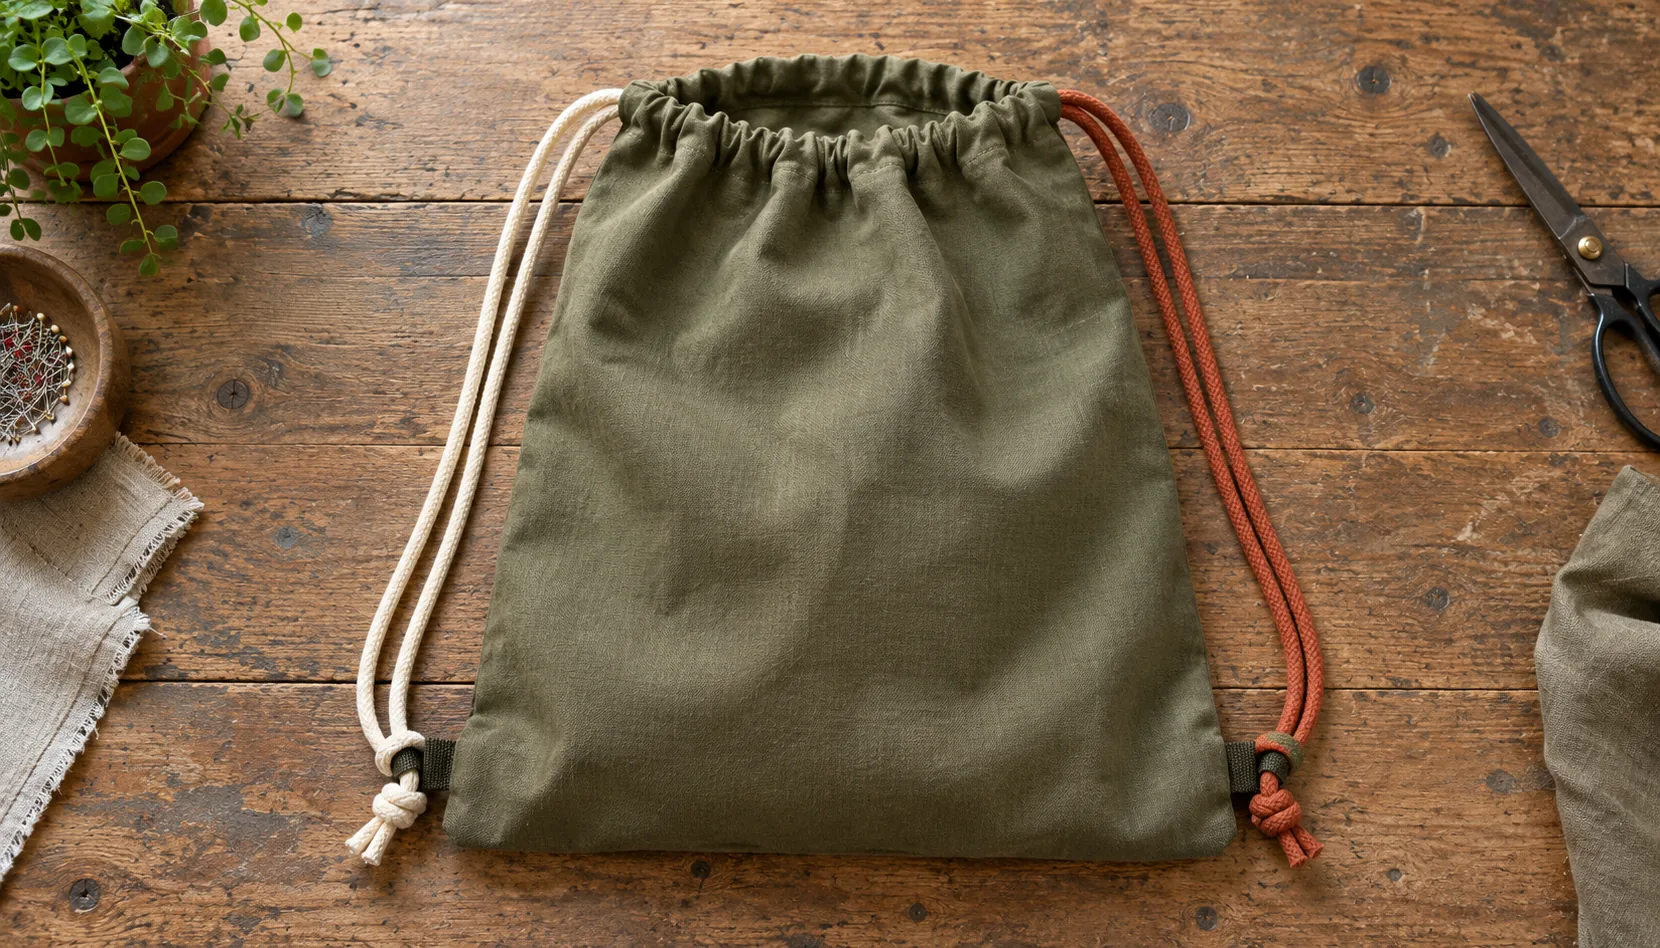
- Attach a bodkin or closed safety pin to one end of the first cord. Enter the right end of the front top channel and feed it through to the left.
- Feed that same end into the left end of the back channel and through to the right. Both ends of this cord should now exit on the right side.
- Repeat with the second cord from the opposite side: enter the left end of the front channel, travel to the right, then return through the back channel to the left.
- Connect the right pair of ends to the lower-right attachment and the left pair to the lower-left attachment. Use the knot, stopper, or sewn finish planned for that construction. For a loop attachment, one end can pass through the loop before being tied to its matching end.
- Test the fit before trimming the cords. Each cord needs enough length for both channel runs, both descents to its lower attachment, and the chosen end finish. Allow for the desired carrying position and adjustment, then confirm with a trial cord.
This two-cord arrangement gives you a strap pair on each side. A single cord routed around the opening can also gather a bag; it does not automatically cause one-sided cinching. Two cords are used here for the mirrored closure-and-strap arrangement, not because every drawstring closure requires them.
Check the routing with the bag open: pull the two side pairs apart and watch the opening gather while both cords move freely. Open it again and repeat. If movement is uneven, check that each cord travels through both channels and returns to its starting side. Also check casing clearance, snags, attachment height, and strap lengths. Uneven gathering alone does not prove one particular routing error.
Which Design Changes Require a Different Construction Plan?
Revisit the pieces and operation order when a change affects a seam, opening, layer, or attachment.
- Lining. Decide how the lining joins the shell and where the turning gap goes. You can retain separate outer casings or design a different lined opening; the lining does not automatically become the cord channel.
- A pocket. Work out its pieces and seam placement, then sew it while the main panel is accessible. Some applied exterior pockets remain accessible after assembly, but that is construction-dependent.
- Boxed corners or a separate base. Recalculate depth and usable space. Check how extra layers meet the lower attachments.
- Hardware. Confirm the component’s size, material-stack compatibility, installation access, and inspection requirements.
- Directional printing. Mark how panels pair and where the artwork should sit after the seams and casing are formed.
- Separate fabric straps. Specify their anchor points and adjusters independently of the drawstring closure. A drawstring bag can have separate straps; it need not stop being a drawstring backpack.
For zipped compartments, padded harnesses, or a more structured body, the broader backpack-making process covers a different assembly scope.
For a repeat order, record what changed, why, who approved it, the new version, and which orders or batches use it. Update the affected pattern, component list, sewing instructions, and sample reference together. If an attachment or material changes, review the checks that relied on the old combination.
What Should Buyers Specify and Approve?
Translate the making steps into fields that can be quoted, cut, sewn, and checked. Keep measurable dimensions, visual references, and performance checks distinct.
| Maker instruction | Specification fields | Check or approval reference |
|---|---|---|
| Cut two panels | Dimensions, measurement points, tolerances, grain, and print direction | Controlled pattern and dimensional check |
| Sew the body | Seam construction, allowance, stitch, thread, layers, and edge finish | Joint reference and relevant measurements |
| Form the channels | Fold widths, finished clearance, stitch line, and entry openings | Actual cord movement through both channels |
| Thread the cords | Cord reference, length, mirrored route, and end finish | Closure operation and loaded strap fit |
| Attach the lower ends | Attachment reference, position, reinforcement, and sewing or setting details | Inspection and agreed attachment/load check |
| Approve the bag | Intended contents, load, duration or cycles, and acceptance criteria | Identified sample and test records |
Use a finished-sample checklist alongside the specification:
| Check | What to verify | Acceptance basis |
|---|---|---|
| Dimensions and usable space | Finished measurements and fit of intended contents | Agreed measurement method and tolerances |
| Casing and cord movement | Both cords travel through the full route without binding | Operation check with the specified cord |
| Closure | The opening gathers and reopens as intended | Agreed functional condition |
| Lower attachments | Position, reinforcement, and behavior under the defined load | Specified load, duration or cycles, and endpoints |
| Seams and edge finish | Construction, allowances, exposed edges, and movement | Written joint details and separate appearance/function criteria |
| Print placement | Orientation and position after assembly | Artwork version, placement tolerance, and visual reference |
| Loaded carrying | Strap length, bag position, and attachment behavior | Intended contents and agreed carrying conditions |
Agree on the conditions and acceptance values before approving the sample. A brief hand pull is not a rated-capacity test.
Record the approved sample’s identity, version, and date. It is a comparison reference for later bags, not proof that a future batch will match it. Batch conclusions need evidence from that batch, proportionate to the order and the risks you are checking.
For a production enquiry, send the pattern, component decisions, intended use, and unresolved questions to a backpack manufacturer. Ask which details need revision or sampling before you commit to the design.
Frequently Asked Questions
How do I calculate the pattern size from the finished size?
For a flat two-panel bag, add both side seam allowances to the finished width. Add the bottom seam allowance and the top casing’s fabric take-up to the finished height, using clearly defined measurement points. A folded base, boxed corners, separate casing, or lining changes the calculation. Test the folds on paper or scrap fabric before cutting the final panels.
What seam allowance should I use?
Use the allowance required by your selected construction and pattern. Fabric, edge finishing, and seam method matter; a French seam needs enough fabric for its two passes. Do not combine one pattern’s cut dimensions with another pattern’s allowances without recalculating them.
How do I string a drawstring backpack with 2 strings?
Pass one cord through the front channel and back through the rear channel so both ends exit on the right. Mirror that route with the second cord so both ends exit on the left. Attach each pair at the lower corner on the same side. Check closure and strap length before trimming.
Should I use grommets or fabric loops at the bottom corners?
Choose by the actual fabric stack, cord, reinforcement, assembly method, and required checks. Grommets need a prepared hole and appropriate setting tools; loops need a specified sewn attachment. Neither option proves a higher carrying capacity on its own.
Do US children’s drawstring rules establish whether a backpack is compliant?
No. The CPSC drawstring guidance addresses children’s upper outerwear, including hood/neck and waist/bottom drawstrings in specified garment sizes. That scope is not a blanket exemption or safety approval for backpacks. For a children’s bag, confirm the requirements for the actual product, age group, intended use, and destination market with qualified compliance support.