
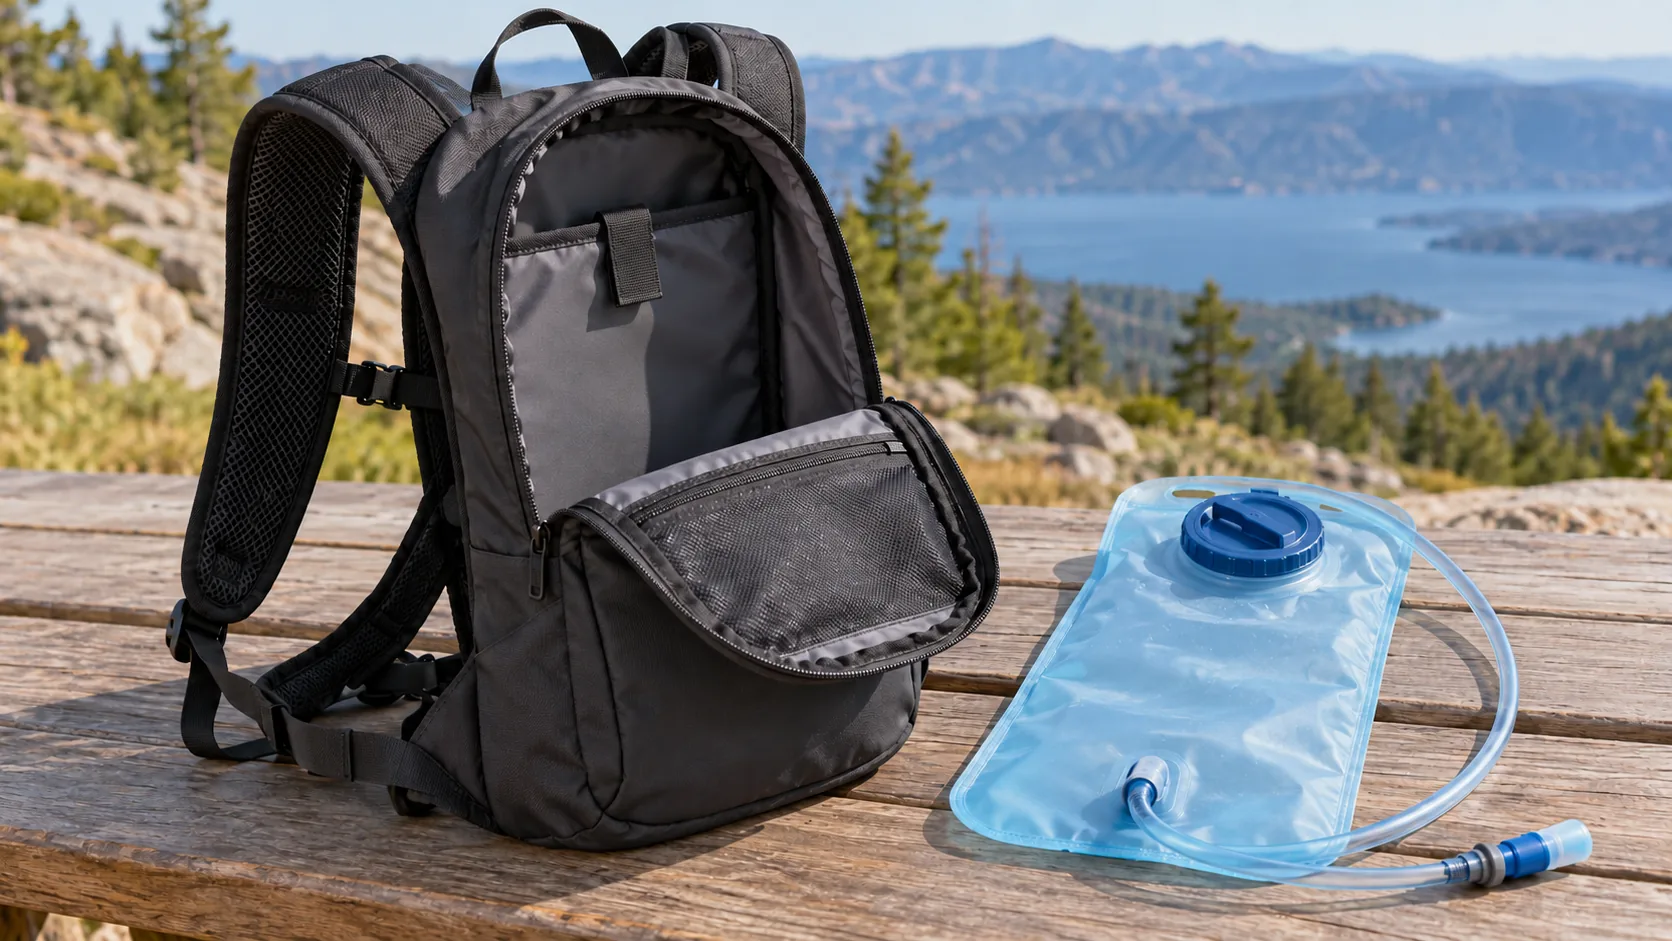
A hydration backpack is a backpack designed to carry a water reservoir, also called a bladder, with a drinking tube accessible while the pack is worn. It may have a reservoir sleeve, hanger, hose port, and routing clips. The reservoir may be included or sold separately, and compatibility varies by model.
This guide focuses on reservoir-and-tube backpack systems: their components, fit checks, installation, and the information buyers need before approving a design. It does not prescribe water intake, a universal reservoir size, or a cleaning formula.
What Is a Hydration Backpack?
The backpack carries the water container and provides a path for its hose. The removable reservoir stores the water; it is not the backpack itself. The National Park Service describes backpack-style hydration systems with a hose as a way to access water while hiking. That describes the access function, not a guarantee of adequate hydration or improved endurance.
| Term | What it describes | What to check |
|---|---|---|
| Hydration backpack | A backpack designed around water access during use | Its water-carrying arrangement, routing, fit, and what is included |
| Hydration-compatible backpack | A general pack with provisions for a reservoir | The actual reservoir envelope, retention, opening, and hose route |
| Reservoir or bladder | A removable flexible water container, usually connected to a tube | The specific model’s dimensions, closure, connections, and instructions |
| Backpack with bottle pockets | A pack that provides places for bottles | Bottle fit and access; bottle pockets alone do not establish bladder compatibility |
“Hydration pack” is also used for vests and waist packs, including designs with bottles or soft flasks. Those overlap with the broader water-carrying category but are not all reservoir backpacks. A running vest should not be assumed to accept a rear bladder unless its design provides for one.
Check whether the listing includes the reservoir, tube, and valve or only the carrier. A compatible sleeve does not establish that every reservoir fits it. For wider trail-pack decisions, choosing a hiking backpack also involves storage, harness, and the rest of the load.
Which Components Make a Backpack Hydration-Compatible?
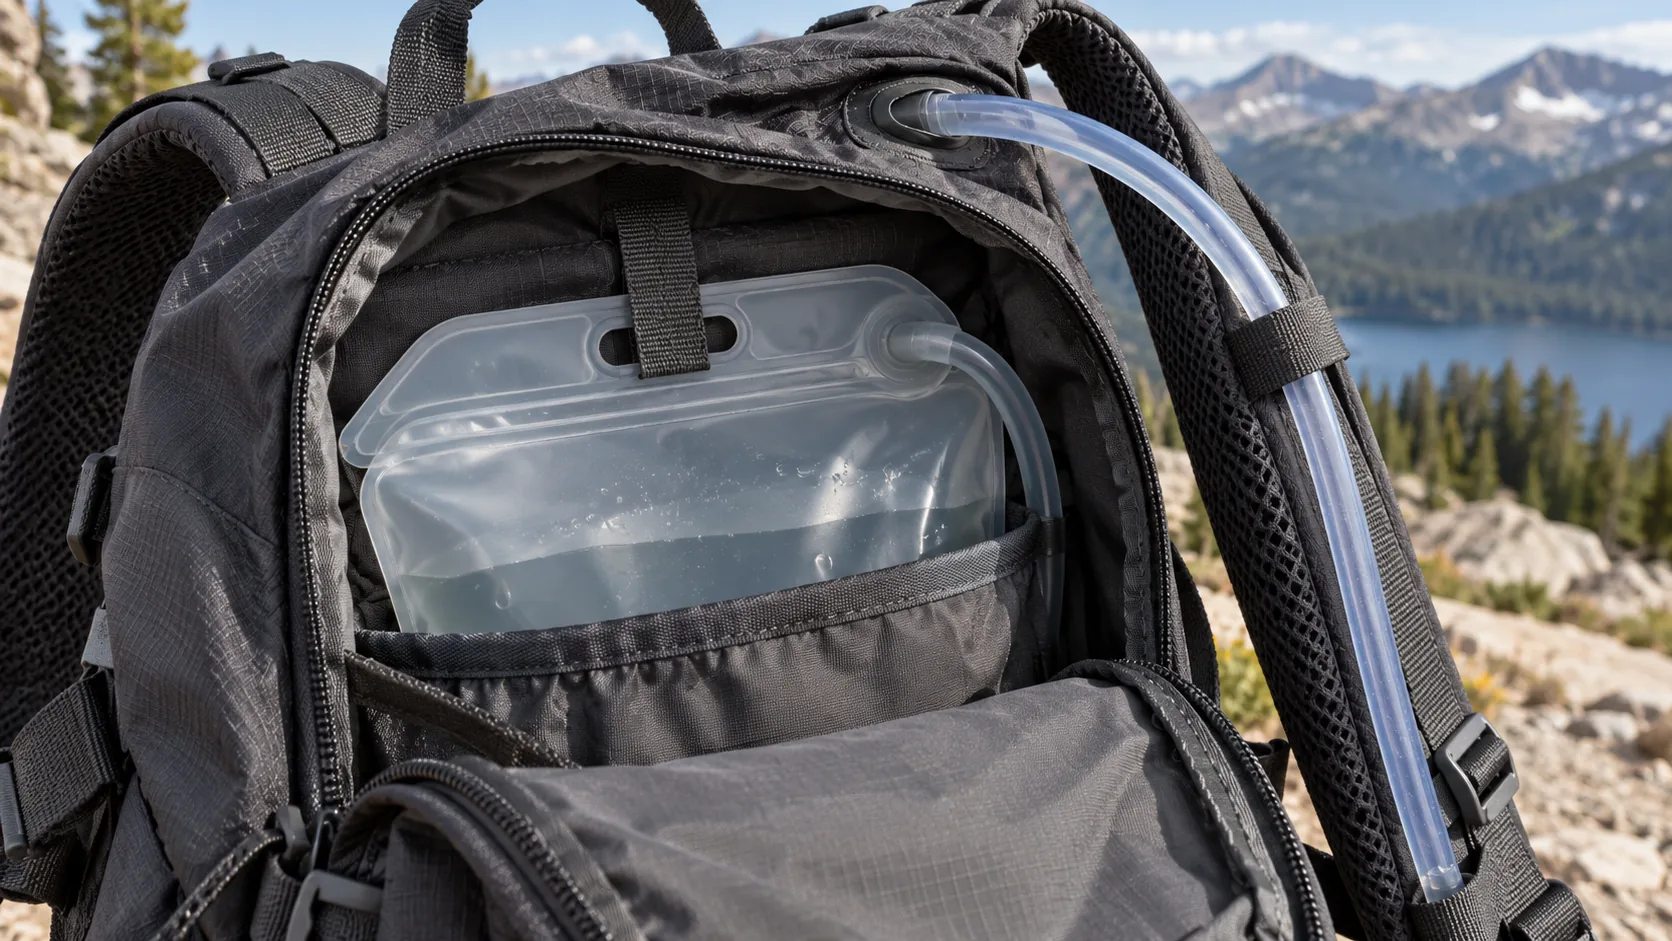
Check the reservoir and its interfaces with the pack. A sleeve, hanger, or port can help support the system, but none of those features establishes compatibility on its own.
| Component or interface | Its role | What varies |
|---|---|---|
| Reservoir and closure | Store water and allow filling | Filled shape, opening type, cap or slide closure, and permitted contents |
| Sleeve or compartment | Locate the reservoir within the pack | Dimensions, opening access, support, and position relative to other gear |
| Hanger or retention | Hold the reservoir in its intended position | Hook, loop, strap, or another arrangement; some designs use no separate hanger |
| Tube connection | Join the reservoir to the drinking hose | Fixed connection or detachable fitting, size, orientation, and matching parts |
| Hose port | Let the tube leave the compartment | Position, clearance, edge treatment, and whether a cover is present |
| Loops or clips | Guide the tube and keep the valve accessible | Placement, attachment method, and compatibility with the actual tube |
| Valve and optional shutoff | Provide the drinking interface and any separate shutoff | Operation, cover, connector, and transport position |
| Separation and access | Keep other contents organized and permit servicing | Compartment layout, removal path, and access for cleaning and drying |
A dedicated reservoir compartment does not automatically contain a leak or keep adjacent contents dry. A hose port may also be an opening through which rain can enter. Check each requirement on the actual assembly instead of treating the presence of a sleeve or lining as proof of protection.
Record the reservoir model and the mating sleeve, retention, connector, and routing arrangement. For the carrying structure, identify the actual straps, adjusters, anchors, reinforcement, and base materials used. Component names do not establish the performance of their interfaces. The backpack parts and accessories guide provides context for those broader pack components.
Can You Put a Water Bladder in Any Backpack?
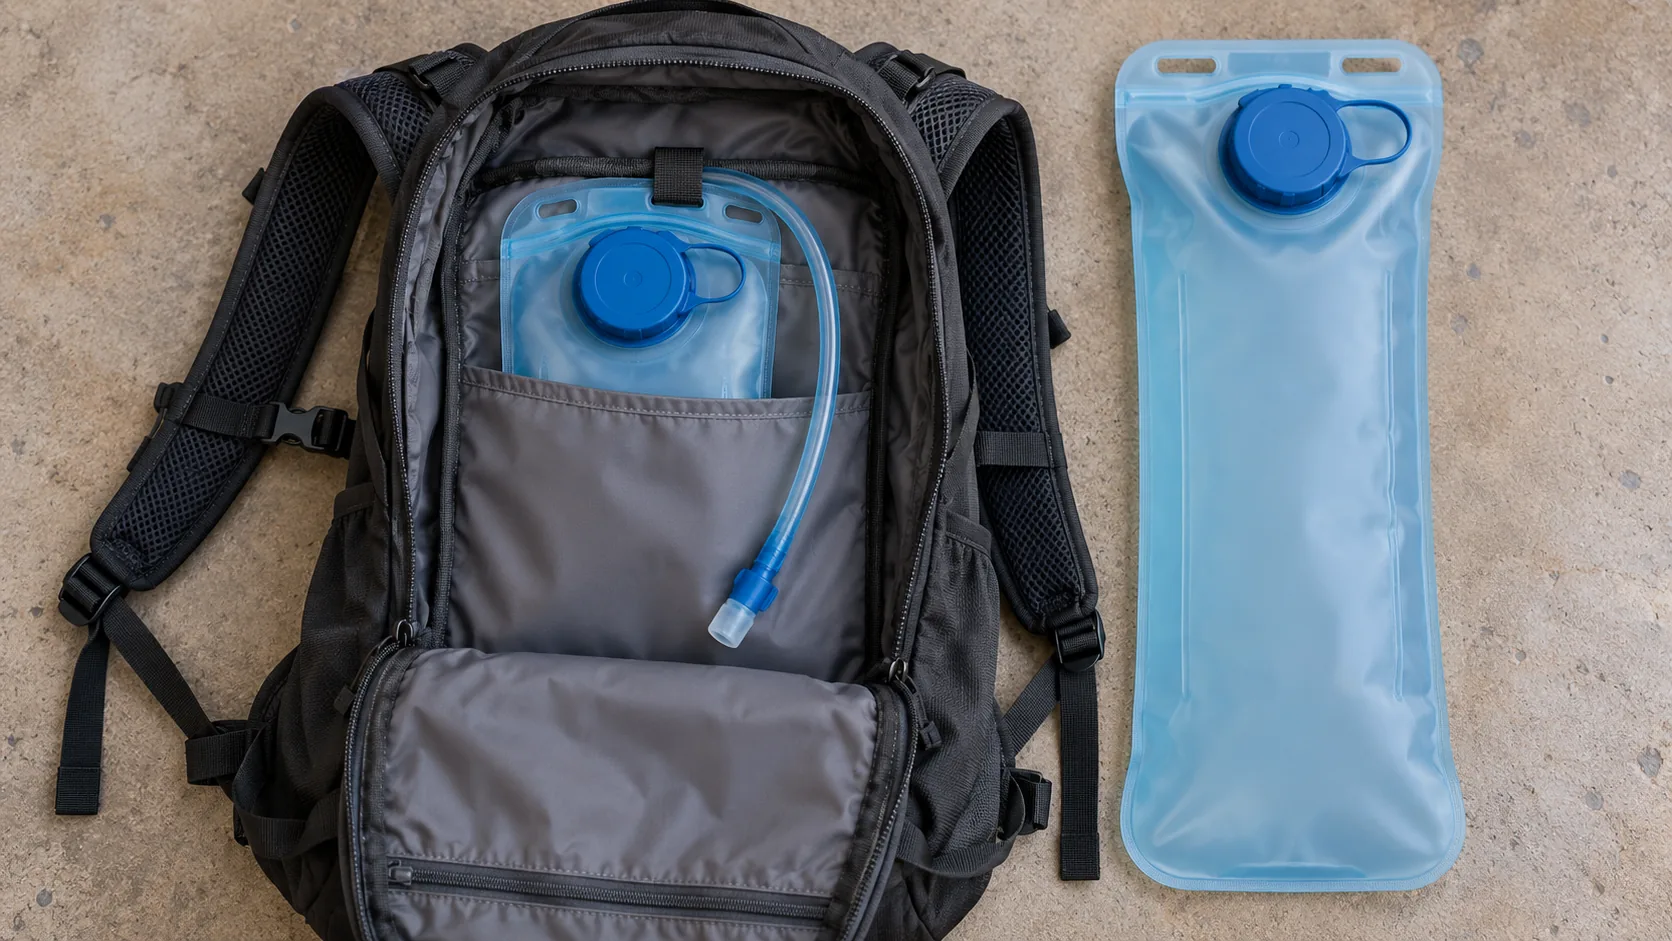
Not always. The filled reservoir must fit, remain positioned as its design requires, and have a usable hose route. The pack must also support the total loaded configuration. If the combination does not work, use a compatible reservoir or another carrying method; an improvised modification is not an automatic solution.
Work through the compatibility questions in order:
| Check | Question | If the answer is no or unknown |
|---|---|---|
| Filled envelope | Does the reservoir fit through the opening and sit in the intended space with other gear packed? | Do not force it in; compare another reservoir or pack |
| Retention | Does the designed support or retention arrangement work when the reservoir is full and partly empty? | Check the manuals and the actual interface; do not assume a generic hook is required or sufficient |
| Hose route | Can the tube reach the drinking position without pinching, tight bends, tension, or an uncontrolled opening? | Do not cut the pack or use an open zipper as a universal workaround |
| Filled load | Does the complete pack carry the reservoir and other contents in the intended position? | Reassess the combination with its instructions and intended load |
| Access and leakage | Can you remove the system for servicing, and what could become wet if water escapes? | Keep vulnerable contents separate and resolve the layout before relying on it |
Treat an unresolved answer as an open compatibility question, not a passed check. A reservoir that fits while empty can change shape when filled. A hanger that accepts the top tab may still need a different support arrangement. Look at the actual pair rather than choosing by nominal capacity alone.
For an existing consumer pack, stay within its intended use and installation instructions. For a new product design, the unresolved interfaces can become sampling questions: sleeve clearance, attachment position, port placement, tube reach, and the route by which any escaped water could reach other contents.
How Do You Install a Hydration Bladder in a Backpack?
Use the instructions for both the reservoir and the pack. The sequence below is a model-neutral check order, not a substitute for a specific filling, connector, cleaning, or valve procedure.
- Confirm the combination. Check the reservoir model, filled dimensions, compartment access, retention arrangement, and hose route before packing other gear around it.
- Inspect and prepare it. Follow the reservoir’s first-use and cleaning instructions. Inspect its closure, tube, fittings, and valve for damage or incorrect assembly. Do not transfer another brand’s chemical or temperature limits to this system.
- Fill as instructed. Use only permitted contents and the reservoir’s specified filling method and limit. Its nominal capacity is not a reason to ignore a marked limit or closure instruction.
- Close and connect it. Fit the cap or sliding closure and any detachable connections as directed. Do not assume that all closures need the same force or that every system has a separate shutoff.
- Check operation outside the pack. Follow the model’s checks for the closure, connections, tube, and valve. Do not apply a universal squeeze or pressure test to an unfamiliar reservoir. A visible leak or damaged component needs attention before installation.
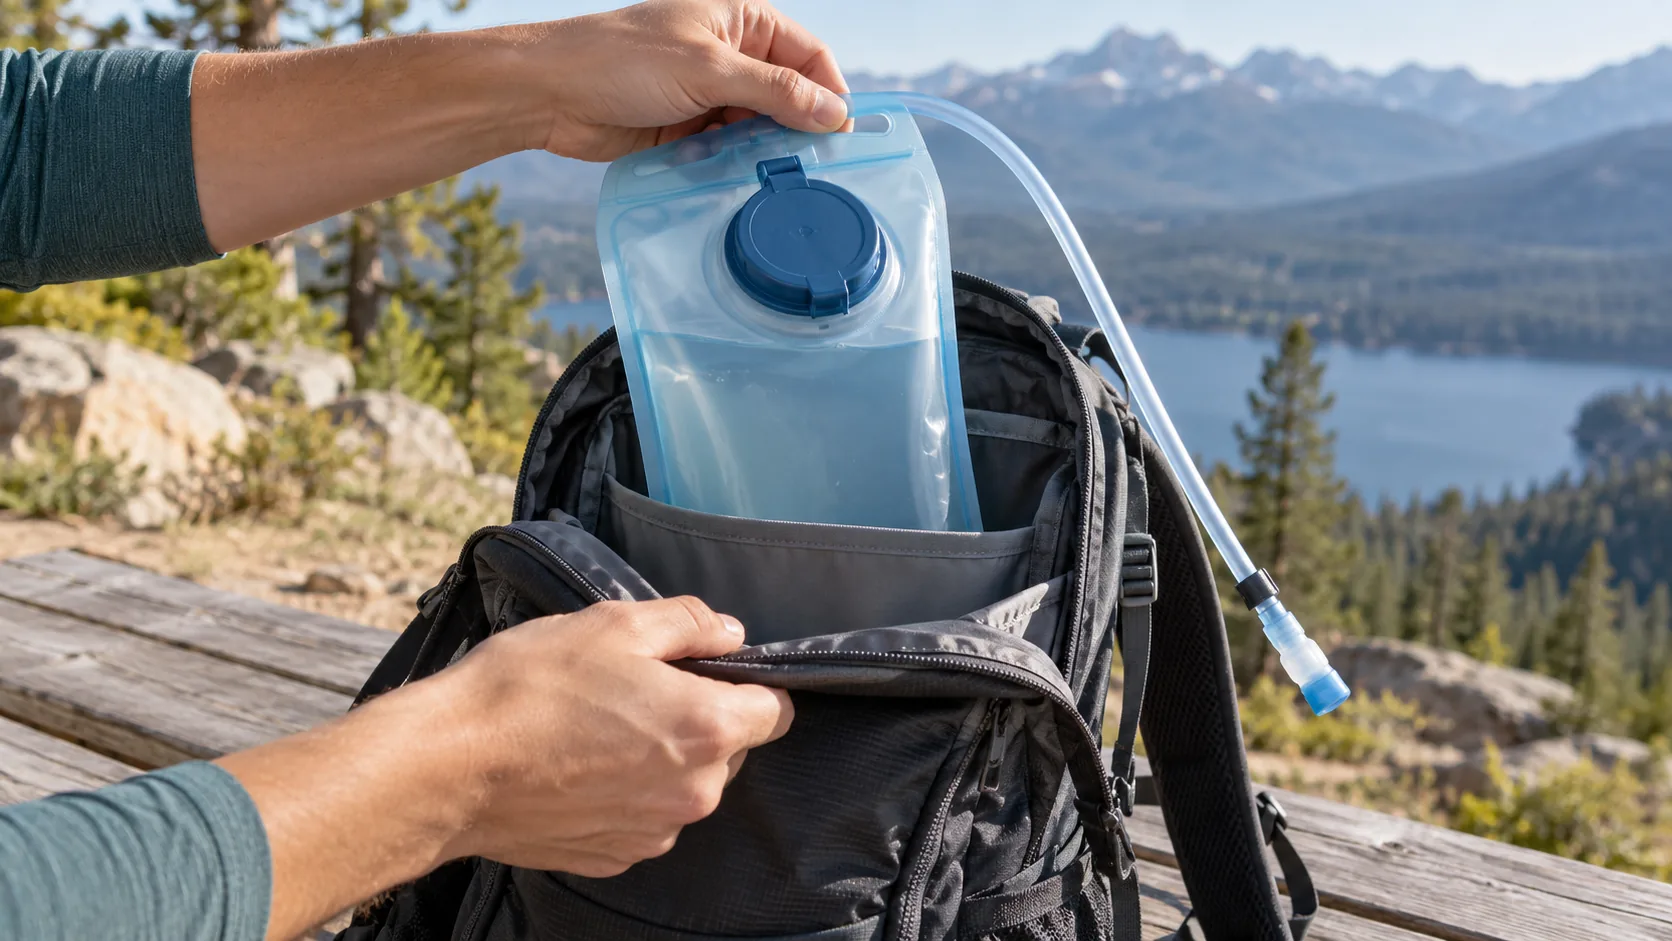
- Insert it in the intended position. Place it through the designated access into its sleeve or compartment without forcing the closure or tube against other objects.
- Use the intended retention. Engage the hanger, loop, strap, or support provided for that design. Check that the actual reservoir fits that arrangement.
- Route the hose. Pass it through the designated opening and guides without pinching it in a zipper, twisting it, or pulling on the reservoir connection.
- Position the valve. Place it within reach and follow the model’s shutoff or transport instructions. If a routing point is described as a loop or clip, confirm its actual function; tactical backpack loops are not all hose guides.
- Check the loaded setup. Wear the pack with the intended contents and move through the postures relevant to your activity. Observe tube reach, shifting, closure access, and any water escape. Adjust only as the design allows, and recheck after changes.
This sequence does not set a minimum flow rate, a universal permissible movement, or a torque for a cap. Model instructions control consumer setup; a product-development test needs agreed conditions and acceptance criteria.
How Do Use Cases Change the Pack Design?
Hiking, cycling, and running create different packing and movement conditions. Choose water access, storage, and carrying features around those conditions rather than assuming one reservoir size or harness works for every activity.

| Use case | Questions for the design | What to evaluate on the loaded sample |
|---|---|---|
| Hiking and trekking | What other gear is carried, where can water be refilled, and how is the reservoir accessed? | Storage layout, harness adjustment, reservoir position, and removal with gear packed |
| Cycling | Where does the pack sit in the riding posture, and can the hose remain accessible? | Leaning position, strap placement, tube routing, and interaction with clothing or protective equipment |
| Running | Does the carrier use a rear reservoir, front flasks, or another arrangement? | Movement, valve reach, contact points, and the defined activity test |
| Tactical or field work | Which other equipment, visibility requirements, and attachment systems must coexist? | Access and interference in the specified configuration, not an assumed tactical standard |
| Events or spectator use | Does the venue allow the carrier and water arrangement, and is a reservoir useful for this use? | Allowed dimensions, filling access, and whether a bottle would suit the task |
Set the reservoir volume and pack storage separately. A small cargo space can surround a relatively large water container, while a larger pack may accept only a particular reservoir shape. Activity planning and refill availability determine the water provision; this guide does not supply a universal intake or route allowance.
For samples intended for running or riding, define what movement is acceptable under the chosen test. “Any bounce fails” is not a universal rule, and a stationary product photo does not establish how the pack behaves during use.
How Should the Pack Fit With a Filled Reservoir?
Check the pack with the intended water fill and other gear in place, not only when empty. Water contributes roughly one kilogram per liter; USGS water-density guidance explains that the precise value varies with temperature and dissolved substances.
Two liters of water therefore contribute about two kilograms. The filled assembly weighs more once the reservoir, tube, valve, and fittings are included, and the complete carried load also includes the backpack and other contents. For a development sample, measure that actual configuration rather than recording a “filled weight as shipped.”
- Location. Use the reservoir position the pack was designed to support. Check whether the filled shape interferes with the back panel, frame, closures, or adjacent contents.
- Retention. Observe the arrangement when full and partly empty. Record movement rather than assuming every visible shift has the same cause.
- Reach. Check the tube and valve in the walking, riding, or working postures relevant to the design. A route that reaches in one posture may pull in another.
- Harness. Adjust the straps according to the pack’s instructions and check them with the total load. General torso sizing and harness selection are broader fitting tasks.
A loaded check can identify a fit or routing problem; it does not establish medical benefit, endurance, or comfort for every wearer. Keep the test configuration and the wearer’s observations in the record so a later change can be compared with the same setup.
What Should Brands Specify and Approve?
“Hydration compatible” and “reservoir included” leave several interfaces undefined. For repeat procurement, identify the actual components and the conditions the assembled sample must meet.
| RFQ field | Information to record | Sample check |
|---|---|---|
| Reservoir identity | Model/code, supplier, capacity, and filled envelope | The specified reservoir fits and remains accessible |
| Filled test configuration | Measured reservoir assembly and total pack load | Check the same fill and gear arrangement stated in the test |
| Sleeve and access | Dimensions, opening, position, and support | Insert and remove the reservoir with the planned contents packed |
| Retention interface | Matching hanger/tab, loop, strap, or other support | Observe the intended position at defined fill states |
| Tube, port, and routing | Mating connections, port position, clearance, and guides | Check bends, pinch points, reach, and connection tension |
| Valve and shutoff | Exact part and operating arrangement | Check operation and any transport position according to the instructions |
| Adjacent contents | Compartment layout and any claimed separation or containment | Observe where water could travel; do not assume a lining contains it |
| Maintenance access | Removal, disassembly, cleaning, drying, and reinstallation instructions | Check that the physical access permits those steps |
| Water-contact documentation | Records for the reservoir, tube, valve, seals, and relevant fittings | Match material and component identities to the supplied sample |
| Replacement parts | Exact available parts and mating compatibility | Check the specified model rather than assuming market-wide availability |
The FDA’s food-contact substance inventory identifies substances and the intended uses and conditions covered by listed regulations. Ask for the applicable basis for the actual water-contact components and intended use. A general material name, an unrelated report, or an inventory entry alone does not certify the complete reservoir or backpack.
Keep report identity and scope separate from the approval decision. Match the stated sample, component code, method, date, conditions, and result to the current design. A record with complete fields still needs an applicability and authenticity check.
For a finished-system sample, agree on:
- the pack and reservoir versions, fill states, total payload, and distribution;
- how the reservoir is retained and how the hose and valve are positioned;
- the movement, handling, tilt, or closure operations relevant to the intended use;
- inspection points and the acceptance limits or visual references for each check;
- any leakage observation, its location, and the conditions in which it can be reproduced;
- removal and maintenance access, followed by reinstallation.
Water inside the pack is an observation, not a diagnosis. Inspect the reservoir, closures, connections, and surrounding openings before assigning a cause. A wet patch does not, by itself, establish which component failed.
Identify the approved sample and its version. It provides a comparison reference, not a guarantee that future batches match it. Record evidence for the relevant batch and reopen affected checks when a component or interface changes.
For a development enquiry, send the reservoir information, intended activity, pack layout, and unresolved compatibility questions to a backpack manufacturer. Ask which interfaces need a physical sample before the design can be approved.
Frequently Asked Questions
Can you put a water bladder in any backpack?
No. Check its filled dimensions, retention or support, hose route, loaded carrying position, and maintenance access. A label or an empty fit check is not enough. If the combination is incompatible, choose a suitable reservoir or another carrying method rather than assuming a modification will solve it.
How do you install a hydration bladder in a backpack?
Confirm compatibility, prepare and fill the reservoir according to its instructions, close it, and perform the prescribed operation checks outside the pack. Insert and retain it as designed, route the tube through the intended opening and guides, position the valve, and check the loaded arrangement in the relevant postures.
Is a reservoir better than a water bottle?
Neither is universally better. A reservoir provides tube-based access while the pack is worn; a bottle provides a different filling, inspection, and carrying arrangement. Compare the actual products, access, cleaning needs, and intended activity. Either container or closure can leak.
How often should a hydration reservoir be cleaned?
Follow the exact reservoir’s cleaning, drying, and storage instructions, including any directions for the tube and valve. Do not borrow another model’s chemical, temperature, or disassembly procedure. The backpack must provide access to remove and reinstall the system; it does not make the reservoir hygienic by itself.
What should you do if the system leaks or needs replacement parts?
Remove the leaking reservoir from the pack and inspect it according to its instructions. Identify the affected closure, seam, connector, tube, or valve before deciding what to replace. Use only confirmed compatible parts; some systems have replaceable components and others may require replacing the reservoir. Do not assume that a similar-looking fitting will work.