
To adjust backpack straps, use the contents you intend to carry, loosen the adjusters, and set the load-bearing contact points before fine-tuning the smaller straps. On a pack with a supportive hip belt, start there, then set the shoulder straps. Follow the model’s instructions for load lifters, the sternum strap, and stabilizers; skip components your pack does not have.
Adjustment changes strap tension and the pack’s position. It cannot repair damaged hardware, change a fixed torso size, or make an unsuitable load comfortable. Recheck the setup after moving, without treating discomfort as something to tighten away.
Which Backpack Straps and Adjusters Do You Have?
Identify the hardware before pulling any webbing. A simple daypack and a framed trekking pack need different setups.
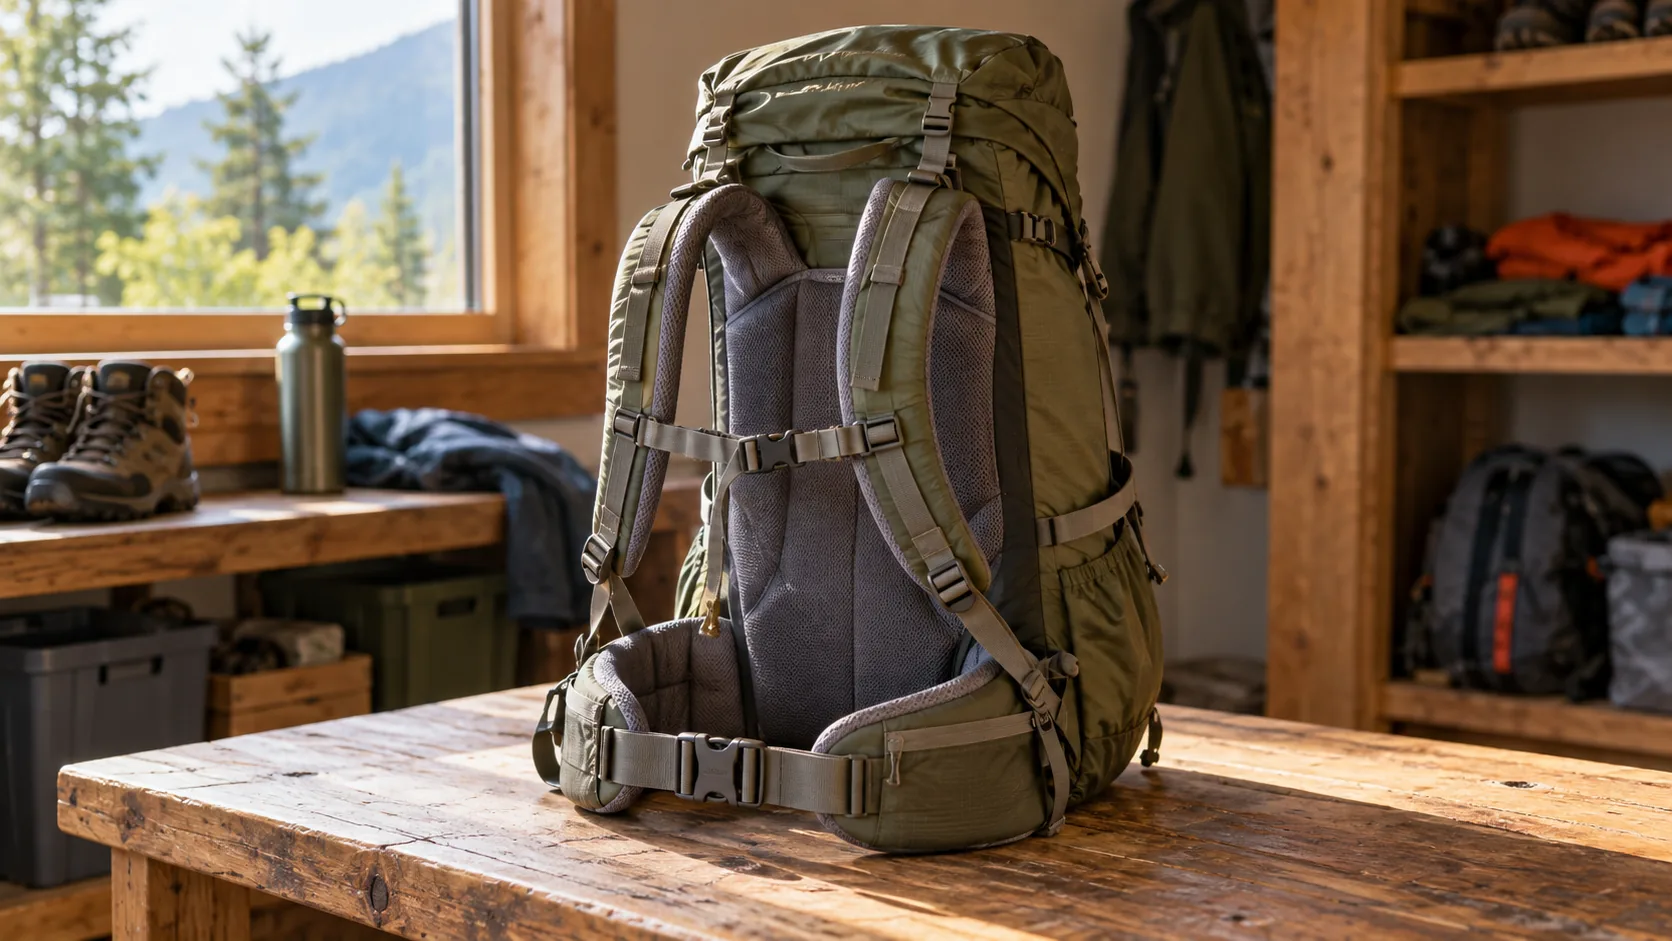
| Component | What you are adjusting | What it does not replace |
|---|---|---|
| Shoulder-strap adjusters | The usable length of the lower shoulder straps | A different torso size or repaired anchor |
| Hip belt and its tensioners, if fitted | Belt placement and contact around the hips | A larger belt range or a different harness |
| Sternum strap, if fitted | The position and separation of the shoulder straps across the chest | A load-bearing hip belt |
| Load lifters or stabilizers, if fitted | The connection between the harness and pack body | Shoulder-strap length or the correct pack size |
| Adjustable torso panel, if fitted | Harness position along the back | Routine tightening of strap tails |
Do not assume that every narrow webbing strap is a load lifter. Locate its attachment points and check the manual. The tactical backpack features guide explains the harness components in a broader product specification.
What Order Should You Adjust Backpack Straps In?
Use the manufacturer’s sequence for your model. For a pack with a supportive hip belt, REI’s fitting guide provides a useful starting sequence: hip belt, shoulder straps, load lifters, then sternum strap. Other manufacturers arrange the final steps differently; this is not a universal order for every harness.
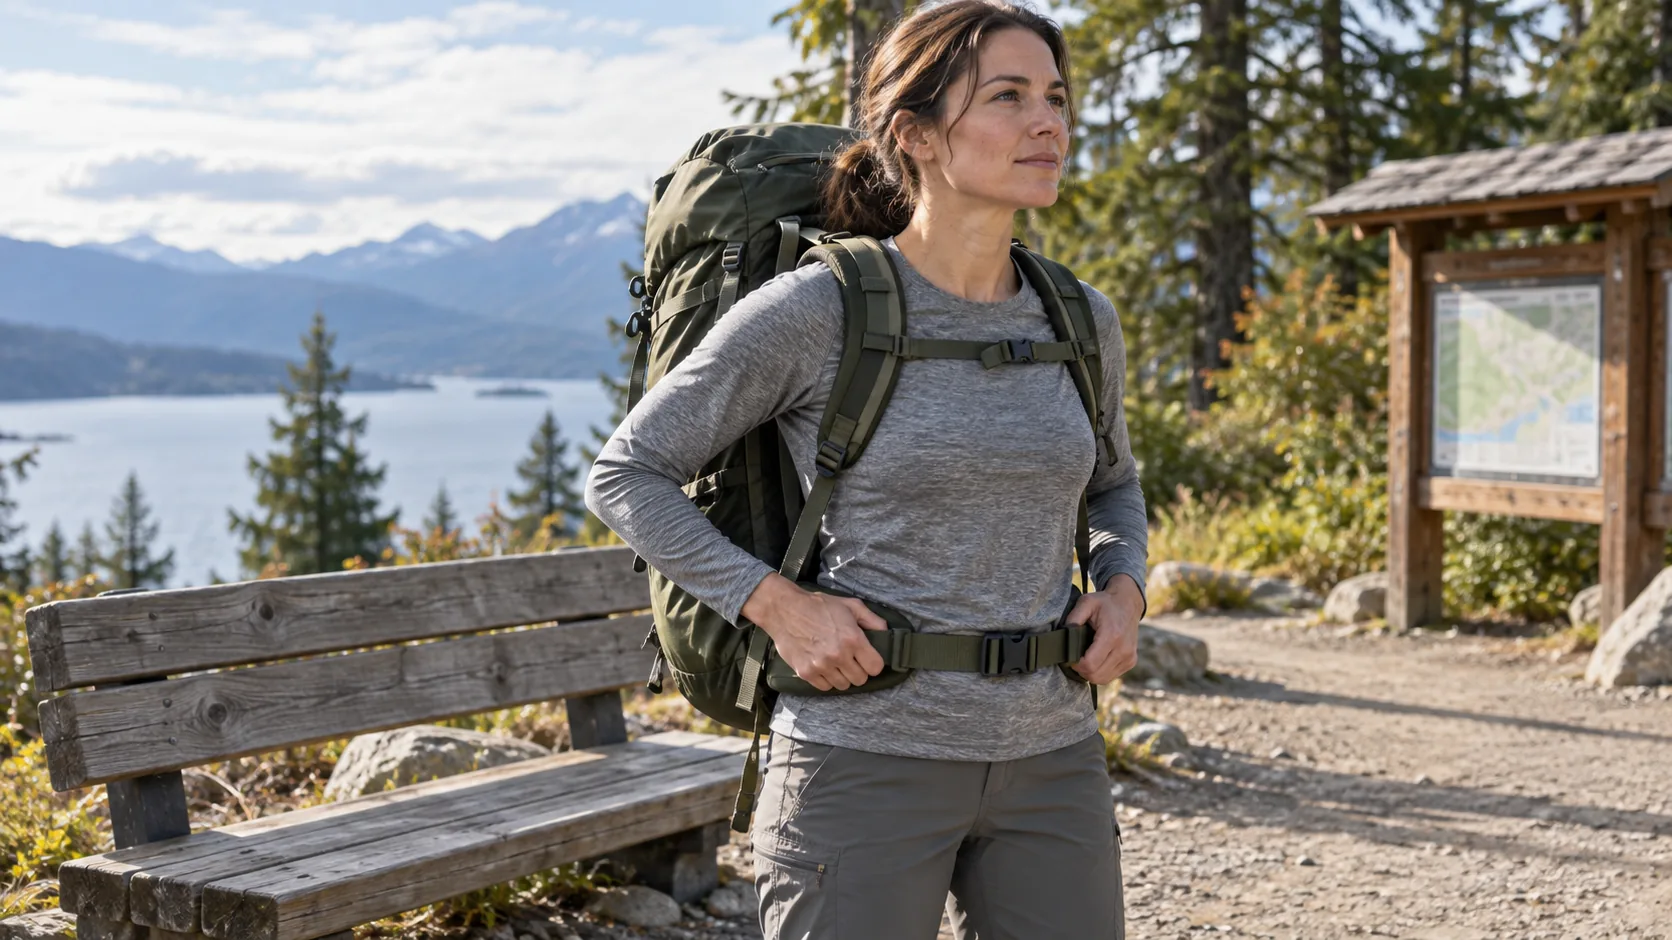
- Put your intended contents in the pack and secure loose items.
- Loosen the adjustment straps. Check the model’s torso setting before putting the pack on.
- Position and fasten the hip belt, if present, so it contacts the hips as the manufacturer describes.
- Take up the shoulder straps gradually until the padding follows the shoulders without excessive pressure. Check both sides by their contact and position, not by requiring identical tail lengths.
- Set the optional load lifters, sternum strap, and other stabilizers according to the model’s guide.
- Move around, check the pack’s position and your breathing, and make small changes if needed.
On a daypack without a hip belt, begin with the shoulder straps. Recheck after changing the load or clothing; the previous setting need not suit the new setup.
How Do You Set the Hip Belt and Shoulder Straps?
On a supportive hiking harness, position the hip belt before using the shoulder straps to bring the pack into contact with your back. The belt should be secure without pinching; the shoulder padding should follow the shoulder curve rather than being pulled hard against it.
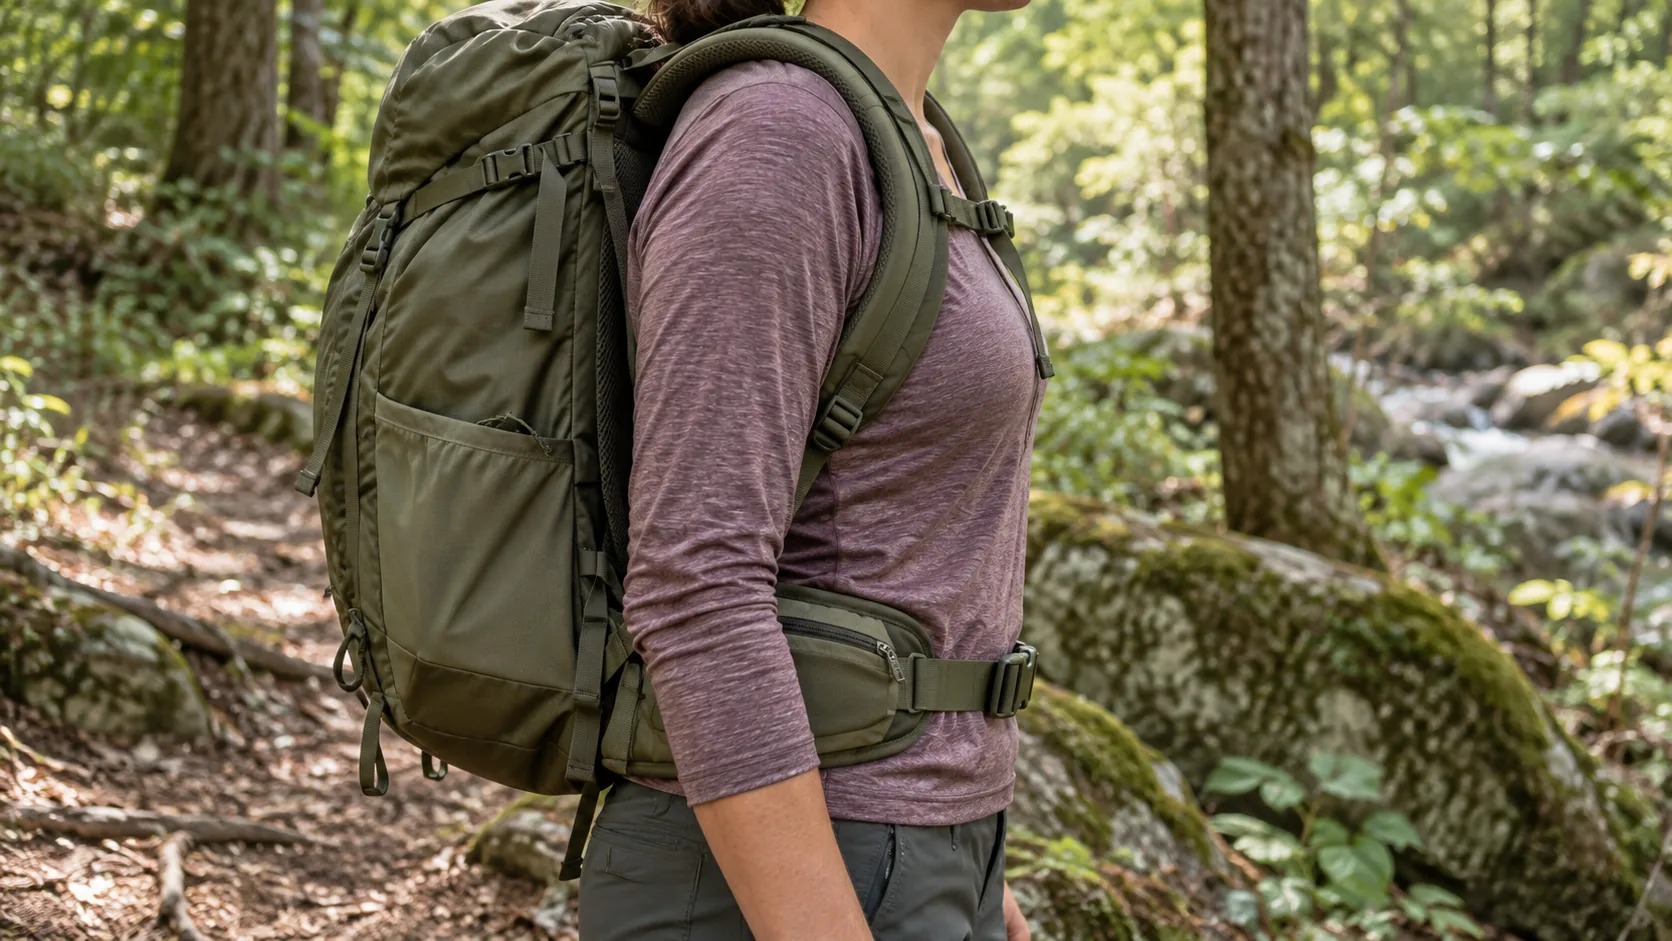
Deuter’s adjustment guide places the center of its hip fins over the top of the hip bones. It distinguishes that placement from a belt sitting too high around the waist or too low near the thighs. Use that guidance within the pack’s own fitting instructions.
Avoid chasing a fixed percentage of weight on the hips. Load transfer depends on the pack, belt, wearer, contents, and movement. A load-carriage study in PLOS ONE measured pressure, strap force, and relative motion under defined pack and load configurations; it does not establish one strap setting for all users.
If the hip belt is positioned correctly but the shoulder contact remains wrong, check sizing as well as tension. Osprey’s size-and-fit guidance bases pack sizing on torso length and distinguishes that from adjustable fine-tuning. The hiking backpack selection guide helps with the pack-choice question. Repeated tightening is not a substitute for checking the harness range.
How Should Load Lifters and the Sternum Strap Be Adjusted?
Load lifters are model-dependent. Snug them as directed without using them to compensate for shoulder straps or a torso setting that still needs attention.

There is no angle to impose on every backpack. Deuter describes roughly 30-45 degrees for its trekking-pack stabilizers, while Lundhags’ Swedish fitting guide describes 10-30 degrees for its top tensioners. Those are manufacturer-specific examples, not interchangeable targets. Use the attachment arrangement and instructions for your pack.
Set the sternum strap at a comfortable height within its adjustment range and tension it lightly. Deuter explicitly checks that breathing remains unrestricted. If it presses on your chest or pulls the shoulder straps into an uncomfortable position, release it and reassess the shoulder setup. Do not force the strap lower or higher than its fittings allow.
How Do You Loosen, Tighten, and Manage Strap Tails?
Support the pack while adjusting, especially when opening a buckle would release its load. Use the adjuster’s intended release motion; the correct direction depends on the hardware.
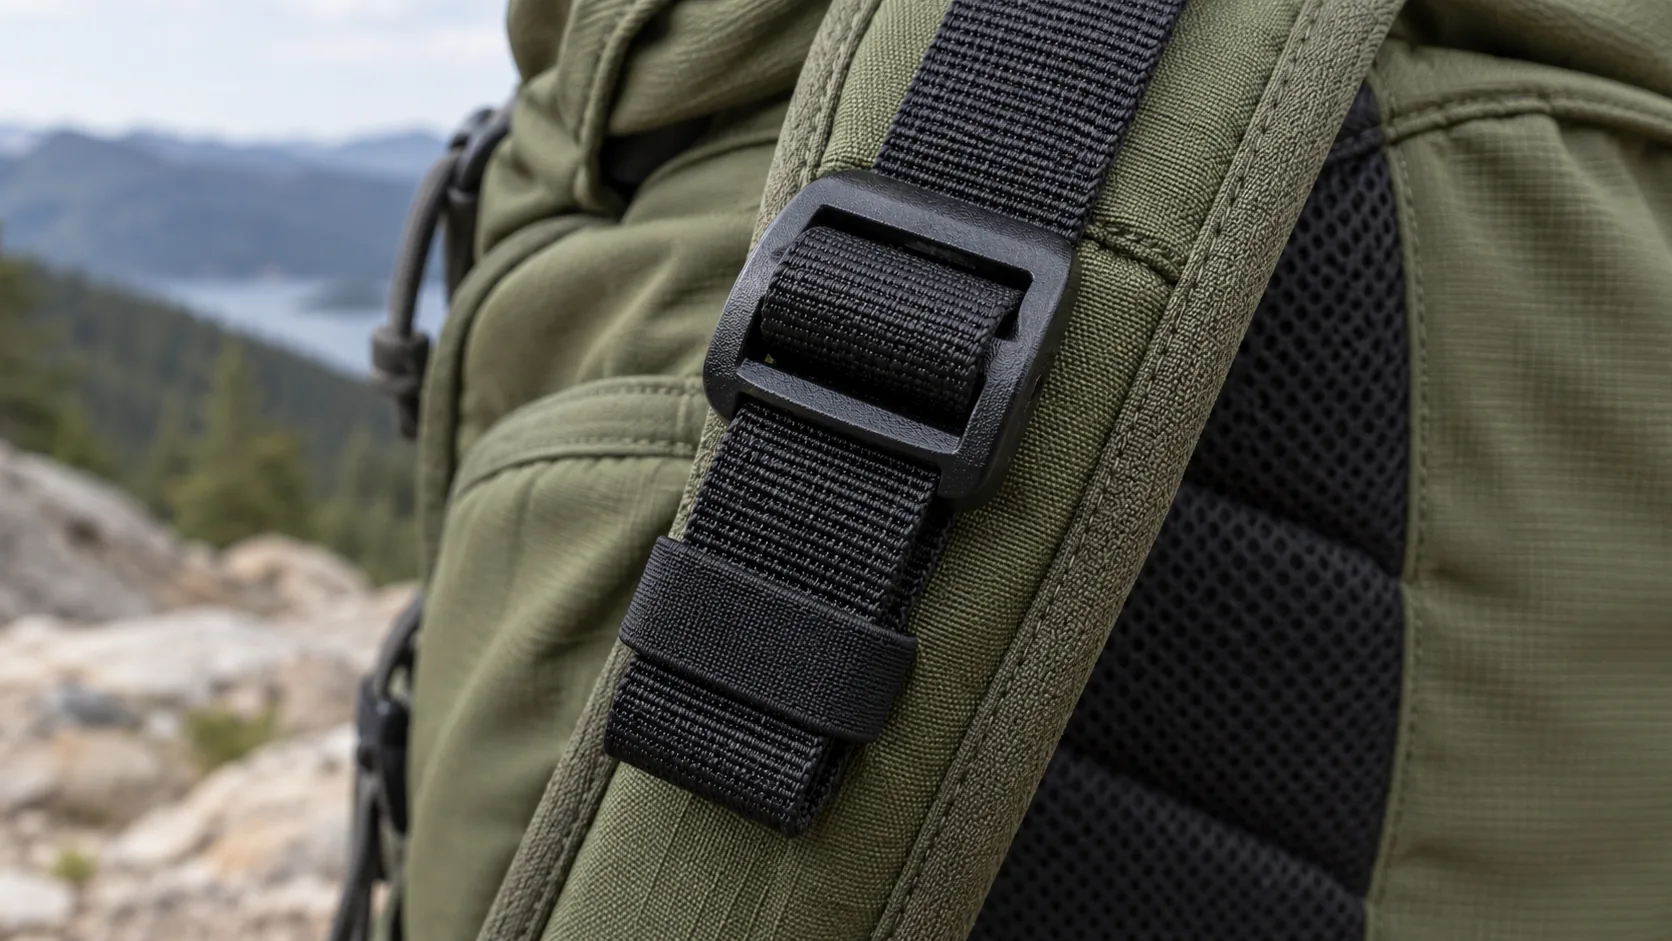
- To tighten, take up the free tail in the direction shown by the pack’s instructions, in small increments.
- To loosen, support the load and operate the slider’s release edge or tab as intended. Do not force webbing through a closed adjuster.
- Keep the webbing flat and check that it follows the specified routing. Do not invent a route through an extra buckle opening.
- Secure excess tails with the supplied keepers. Leave enough accessible webbing to make the required adjustments; do not cut it off to solve dangling ends.
- Compare the pack’s position and shoulder contact on both sides. Different tail lengths alone do not prove a problem.
If an adjuster keeps slipping, stop relying on it to hold the load. Check routing, the webbing-hardware pairing, and visible damage against the maker’s instructions. Nominal webbing width alone does not establish compatibility: thickness, finish, buckle geometry, and routing also belong in the check.
Torn anchors, cracked hardware, or webbing that has pulled completely out require an inspection or repair decision, not more tension. The backpack parts and accessories guide can help identify the affected assembly. This article does not certify a repaired strap or restore a load rating.
What Do Common Fit Symptoms Mean?
Use these observations to decide what to inspect. They are not one-to-one diagnoses.
| Observation | Checks to make | When to stop adjusting |
|---|---|---|
| Shoulder padding leaves a gap | Strap tension, torso setting, hip-belt position, and the model’s fitting instructions | The adjustment range is exhausted or the specified contact cannot be achieved; remeasure and consider a different size or harness |
| Pack sways or sits off-center | Contents, compression, shoulder contact, and stabilizer settings | The movement persists after checking the setup, or an attachment looks damaged |
| Webbing creeps through an adjuster | Intended routing, flat webbing, hardware compatibility, and wear | It will not retain the setting; do not keep loading it while guessing at the cause |
| Hip belt moves away from its intended position | Belt placement, range, shoulder tension, and the loaded pack | The belt cannot stay positioned within the permitted settings |
| One side sits lower | Packing, both adjustment paths, strap contact, and attachments | There is visible damage or the imbalance persists without an identifiable setup correction |
| Chest pressure or restricted breathing | Release the sternum strap and check the harness setup | Pressure remains after releasing the restrictive setting |
| Numbness or tingling | Remove the pack and stop experimenting with tension | Symptoms persist or recur; seek medical advice |
Do not diagnose numbness from the harness alone. The NHS guidance on pins and needles advises medical review for symptoms that are constant or keep returning; it is not a backpack-fitting diagnosis.
For children and teenagers, use age-appropriate guidance rather than treating an adult trekking setup as the standard. AAOS OrthoInfo’s backpack-safety advice discusses fit and load in that age group and recommends a pediatrician when a child’s back pain does not improve.
What Should Brands Check in an Adjustable Harness?
Specify an adjustment system as an installed assembly. A slider, a webbing strip, or an anchor tested on its own does not establish the performance of the complete harness.
| Approval check | What to record |
|---|---|
| Intended wearer range | Torso and belt ranges, clothing conditions, and the adjustment endpoints used in the fit trial |
| Load path | The straps, sliders, buckles, anchors, reinforcement, and pack interfaces used in the actual design |
| Hardware pairing | Component codes, webbing material, width, thickness and finish, buckle geometry, and the approved routing |
| Access and tail control | Whether the wearer can reach the required adjusters and secure the remaining tails at the checked settings |
| Loaded retention | The sample revision, representative contents and distribution, duration or cycles, movement conditions, and agreed pass/fail criteria |
| Installation | Anchor construction, reinforcement and stitch details; record where any damage or movement appears without treating its location as the proven root cause |
| Instructions | The model’s setting sequence, optional components, release motions, limitations, and drawings matching the approved sample |
Agree on the trial conditions before judging a result. There is no universal number of pulls, walking minutes, or kilograms in this checklist. Keep the approved sample, specification revision, and inspection criteria connected so a later material or hardware substitution can be reviewed against the same requirements.
Keep supplier codes, construction, finish, color reference, quantities, and placement in the component record; drawing callouts can reference that controlled row instead of duplicating it. For a test report, match the sample or batch, method and revision, date, conditions, endpoint, and result to the current component. Complete fields help trace the evidence; they do not prove its authenticity or applicability.
When discussing a custom project with backpack manufacturers, send the intended wearer range, contents, harness layout, and acceptance criteria together. Ask which requirements need a fit sample, component documentation, or installed-assembly verification before production approval.
Frequently Asked Questions
How do I tighten or loosen backpack shoulder straps?
Support the pack and use the hardware’s intended motion. Tighten by taking up the free tail gradually; loosen with the release edge or tab described by the maker. Keep the webbing flat, and check the pack’s position rather than requiring identical tail lengths.
Should I tighten the hip belt or shoulder straps first?
For a harness designed around a supportive hip belt, set the belt first, then the shoulder straps. If the pack has no hip belt, start with its shoulder straps. Follow the model’s instructions for the remaining components.
What angle should backpack load lifters have?
Use the pack manufacturer’s guidance. The Deuter and Lundhags examples above describe different angles for their own systems. Neither gives a universal target for every daypack, frame, or harness.
Why do my backpack straps keep slipping?
Possible checks include routing, webbing-hardware compatibility, wear, and damage. Those checks do not prove the cause. If the adjuster cannot retain its setting, stop relying on it under load and seek the maker’s inspection or repair guidance.
Can strap adjustment fix a backpack that does not fit?
It can improve tension and position within the harness’s range. It cannot change a fixed torso size or make damaged parts sound. If the required contact remains outside the permitted settings, recheck measurements and consider another size or harness.