
To decorate a backpack, check the shell, hidden layers, and panel access before choosing pins, patches, clip-on accessories, paint, or embroidery. Match the method to the bag and the decoration product’s instructions, test an appropriate sample, and keep additions clear of load-bearing straps, closures, and protected compartments.
A design that works on plain canvas may not suit a coated school pack or a padded laptop bag. If you want to personalize a backpack but are unsure about its construction, start with a lightweight accessory on a suitable existing attachment point. Permanent methods need a closer compatibility check.
What Should You Check Before Decorating a Backpack?
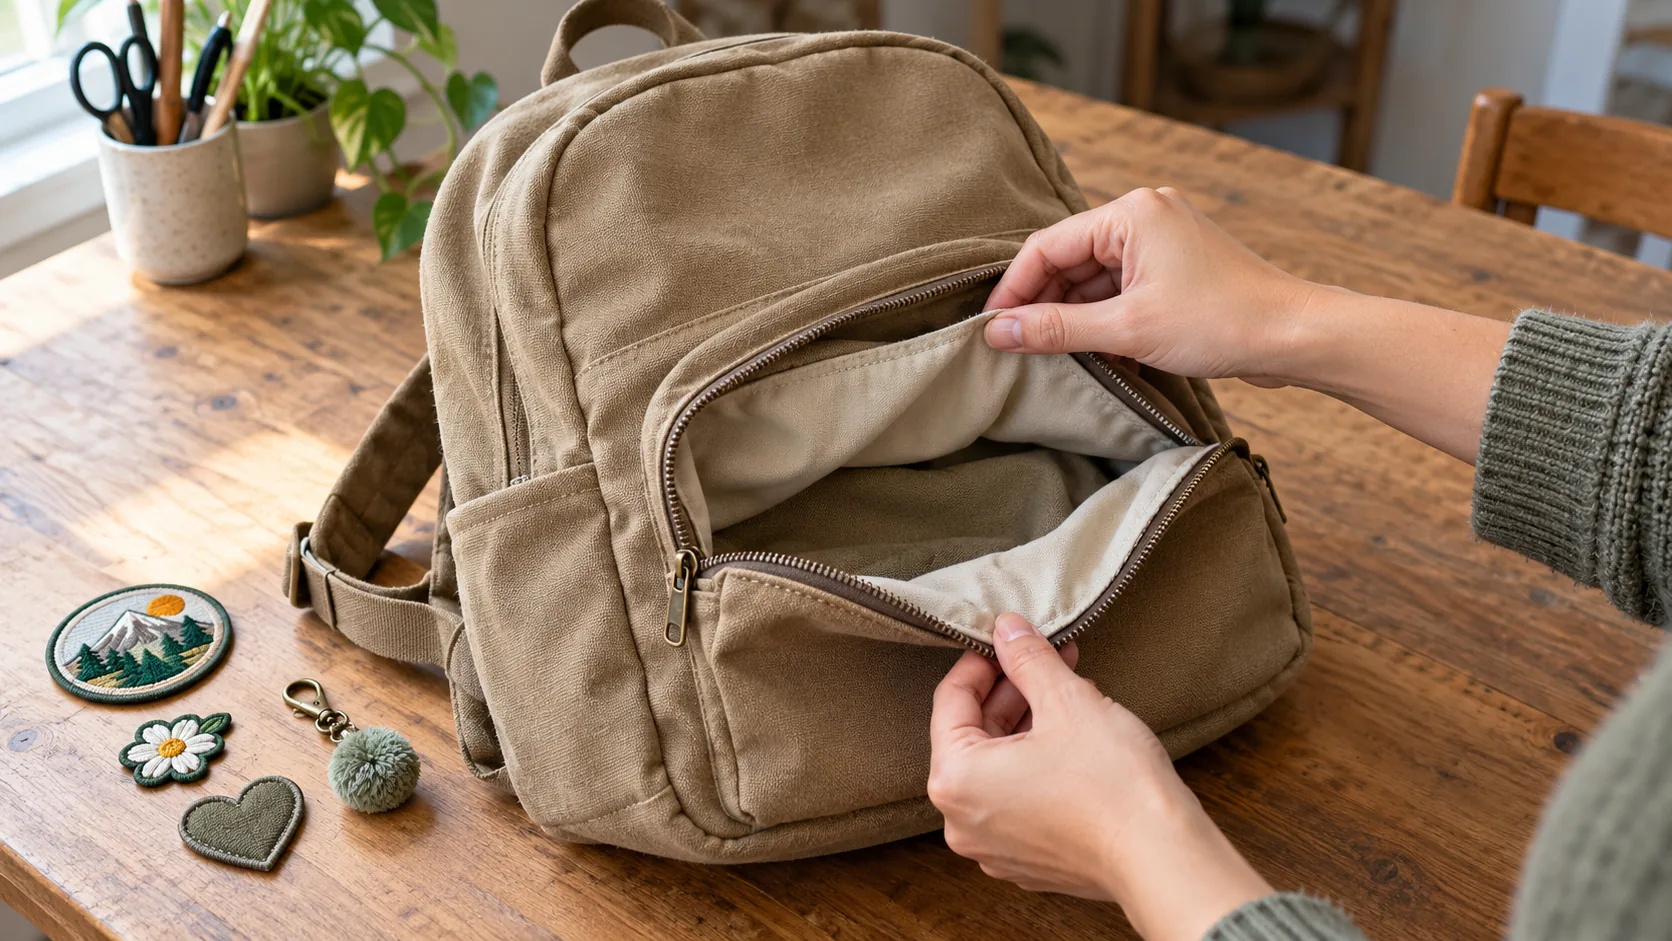
The fabric you see is not necessarily the only layer you would pierce, heat, or coat. An exterior pocket can have lining, foam, a coating, or laminated layers; its location alone does not make it suitable for decoration.
Check four things before committing:
- The face fabric and any coating, laminate, existing print, or surface treatment.
- What sits behind the proposed area, including lining, padding, seam tape, or an internal compartment.
- Whether you can reach and separate the layers needed for the method.
- The backpack’s care instructions and the decoration product’s application and care requirements.
Our guide to backpack parts and accessories can help identify the panels, straps, and hardware involved.
Use this panel map to decide where to investigate, not as a guarantee that any zone is damage-proof.
| Backpack zone | What to inspect | Practical decision |
|---|---|---|
| Flat exterior pocket | Lining, padding, coating, and access behind the face fabric | A possible candidate once the full construction is checked |
| Main front panel | Hidden layers, nearby pockets, and reach-behind access | Do not assume it is a single layer |
| Padded laptop, battery, or hydration area | Protected contents and inaccessible layers | Keep sharp backs, heat, and unverified stitching away |
| Shoulder straps and structural webbing | Load-bearing anchors and adjustment paths | Do not add pin holes or decorative stitching through the load path |
| Seams and zipper tape | Existing stitching, sealing, and zipper travel | Keep decoration clear of these functional areas |
| Coated base or laminated shell | Actual coating and attachment compatibility | Avoid piercing, heat, or adhesives unless the proposed method is specifically approved |
| Reflective trim or piping | Visibility function, finish, and edge construction | Do not cover or puncture it for decoration |
| Mesh pocket | Openings, snag exposure, and localized pulling | Do not treat mesh as a default pin or charm anchor |
| Existing ring or attachment loop | Purpose, clearance, wear, and any moving hardware nearby | Consider only a light accessory that does not obstruct function |
A test should use a matching spare panel when available. Testing on a hidden spot still changes the bag; use that route only when the maker permits it and the spot represents the proposed application. A different lining fabric is not a reliable test for the outer shell.
Which Decoration Method Fits Your Backpack?
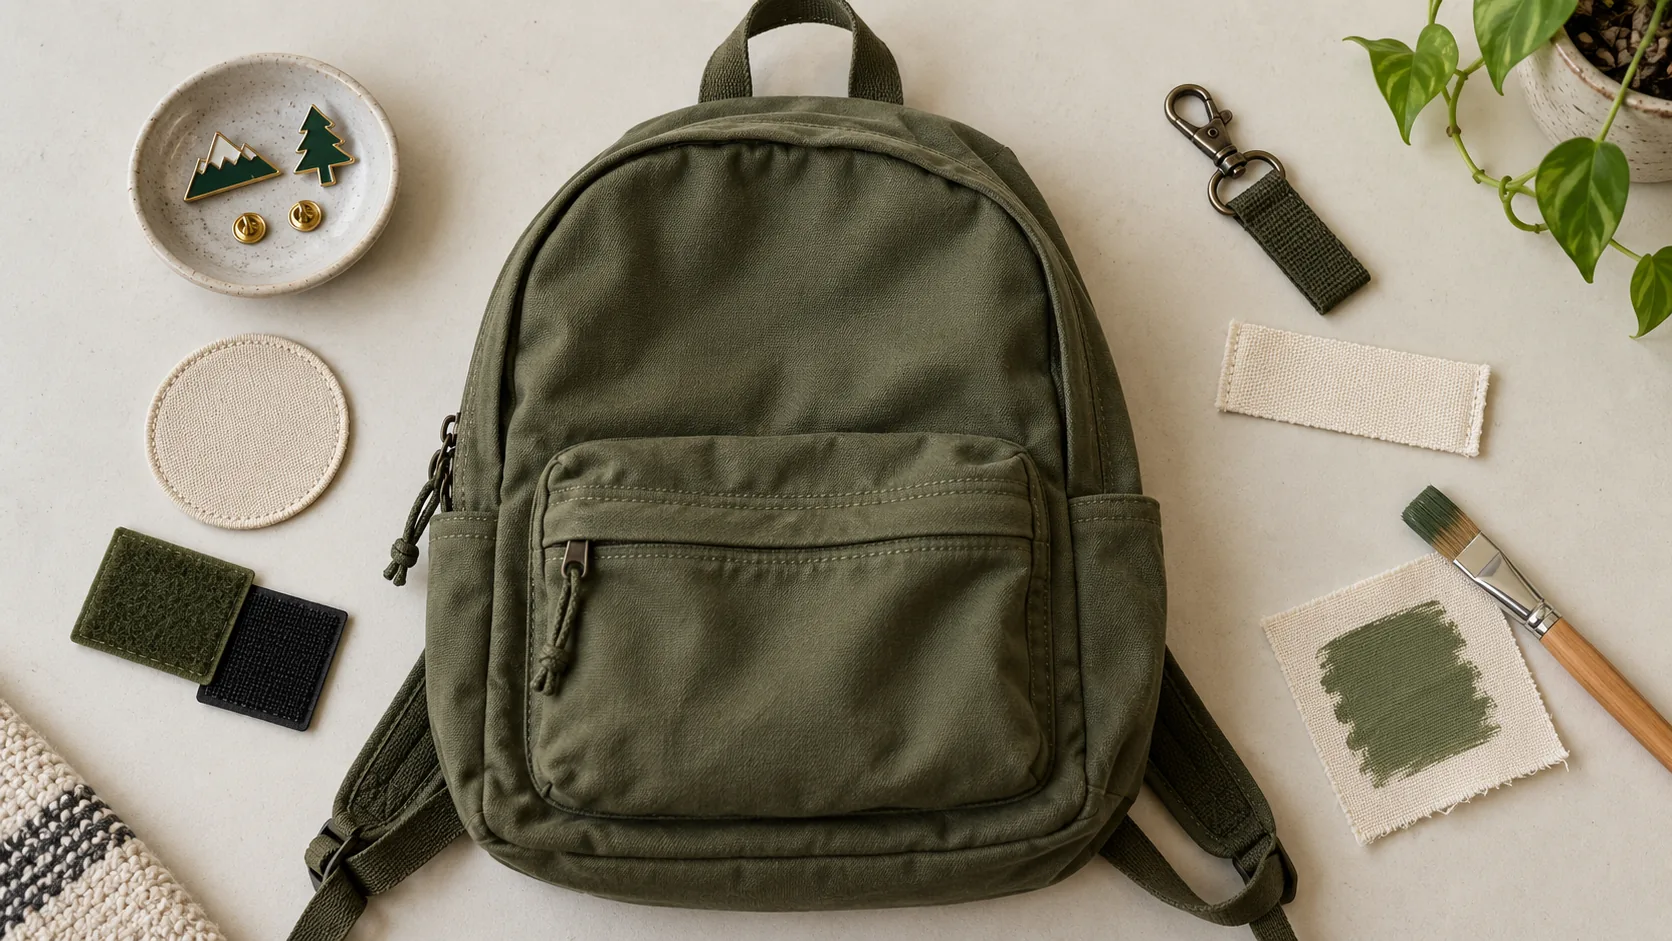
Compare three demands: puncturing, heat or chemistry, and access. Then decide which removal marks you are willing to accept. Being able to remove an accessory is different from returning the fabric to its original condition.
| Method | Fabric penetration | Heat or chemistry | What removal can leave | Candidate to investigate |
|---|---|---|---|---|
| Enamel or button pins | Yes | Usually neither for attachment | Holes, distortion, or rubbing marks | Accessible non-structural fabric, away from protected contents |
| Clip-on keychain, charm, or tag | Not if attached to existing hardware | Neither for a simple clip | Hardware wear or abrasion may still occur | A suitable existing ring or loop with clearance |
| Hook-and-loop patch | Depends on how the loop field is attached | Adhesive-backed fields are product-specific | Stitch holes or adhesive residue | An existing field, or a panel approved for a new one |
| Sewn patch | Needle holes | No heat required for stitching itself | Stitch holes or changes to the panel | Accessible, compatible non-padded construction |
| Iron-on patch | No needle required by the adhesive method | Heat-activated adhesive | Residue or surface damage | Only a bag-and-patch combination permitting the process |
| Fabric paint or marker | Normally a surface application | Product-specific formulation and fixing | Usually a permanent color change | Compatible fabric with an approved application and care route |
| Dye | Whole-item treatment rather than an attached ornament | Dye-specific wet processing | A color change that may be uneven across components | A washable assembly compatible with the complete process |
| Embroidery | Repeated needle holes | Stabilizer and marking products may also be involved | Holes, puckering, or stabilizer traces | A panel with suitable sewing access and support |
| Production branding | Depends on the chosen method | Method-specific | Not normally planned for consumer removal | Specified artwork, material, position, and evidence |
These are selection criteria, not rankings of strength or safety. A smaller decoration may still be unsuitable if it crosses a sealed seam or blocks an adjuster.
How Can Pins Be Placed and Secured With Less Damage Risk?
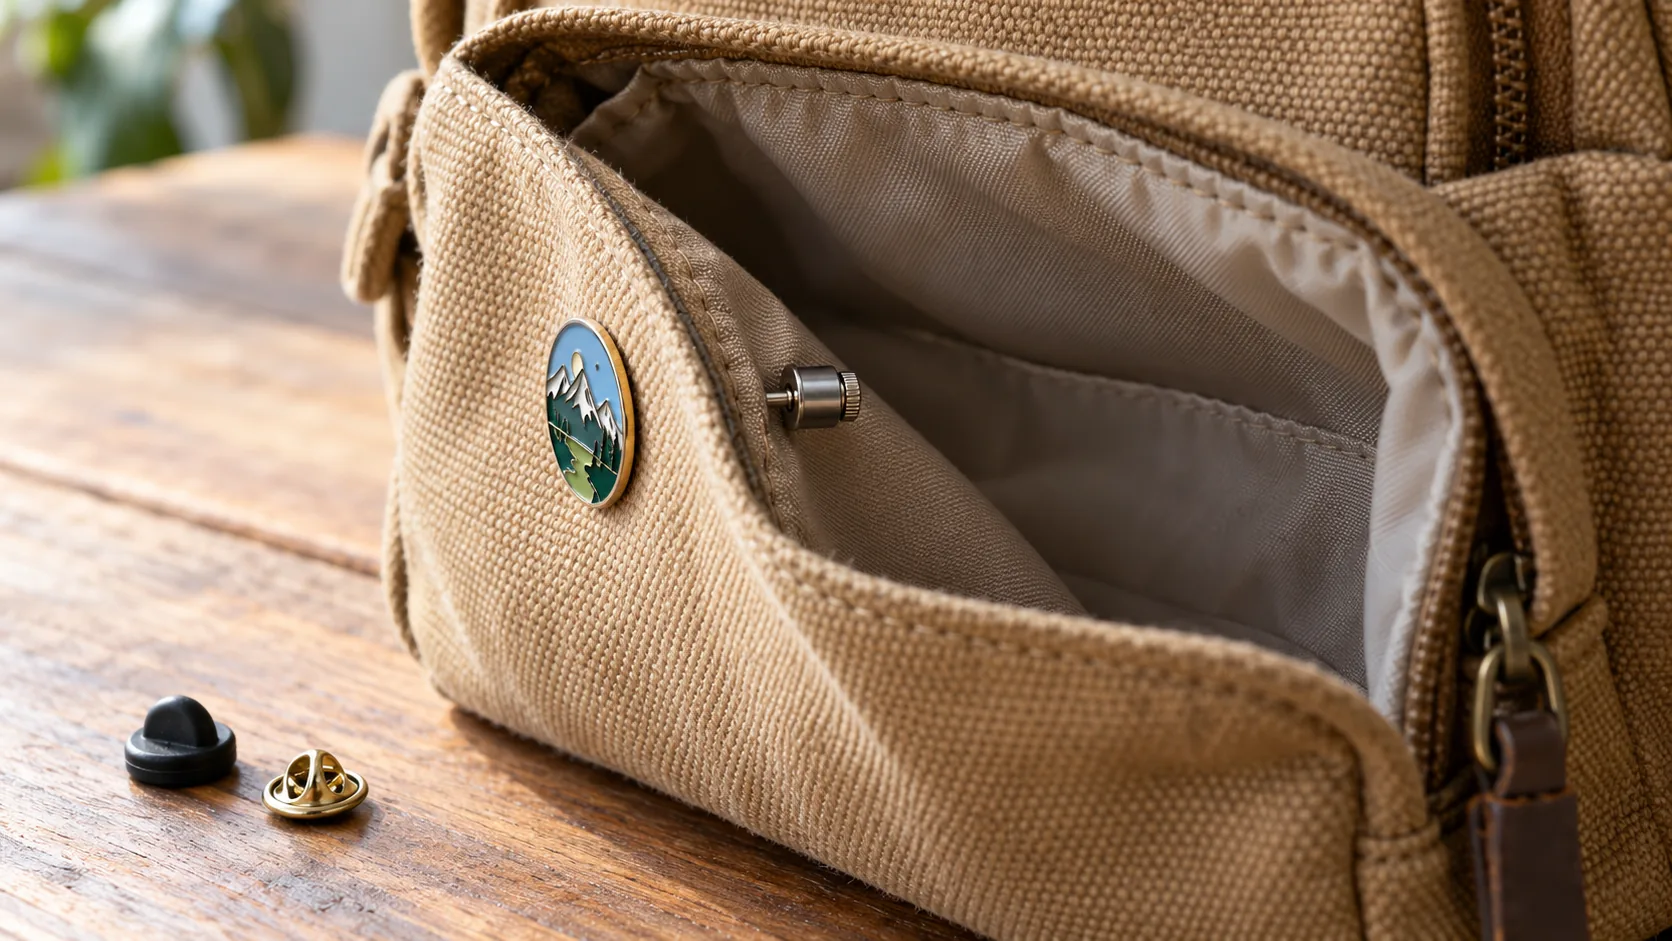
A pin creates a hole. Before installing one, decide whether that change is acceptable and whether its backing can remain isolated from the bag’s contents. Do not use a padded electronics compartment as a pin display panel.
For an accessible, compatible non-structural panel:
- Empty the pocket and separate its face fabric from the lining. If you cannot see or reach the intended layer, choose another method.
- Arrange the design before piercing. Avoid repeated trial holes and unverified chalk or marker on the shell.
- Check the pin post length against the fabric and backing. Do not force an unsuitable post or clutch together.
- Fit and check the backing according to its maker’s instructions, keeping sharp or exposed parts away from contents.
- Close the pocket and move the bag through ordinary carrying positions. Check for rubbing, snagging, or obstruction; inspect again during use.
Pin-hardware maker PinKeepers describes locking and screw-type backs as alternatives to standard clutches. A mechanical lock still needs correct engagement. It is not a guarantee against loss, theft, or fabric damage, and it cannot undo the puncture.
Do not add duct tape, adhesive moleskin, nail polish, or glue inside the bag as an unverified fix. Those products introduce their own compatibility and detachment questions. If the decoration needs improvised protection to keep it away from a device or sharp edge, change the placement or attachment method instead.
When Should You Use Sewn, Hook-and-Loop, or Iron-On Patches?
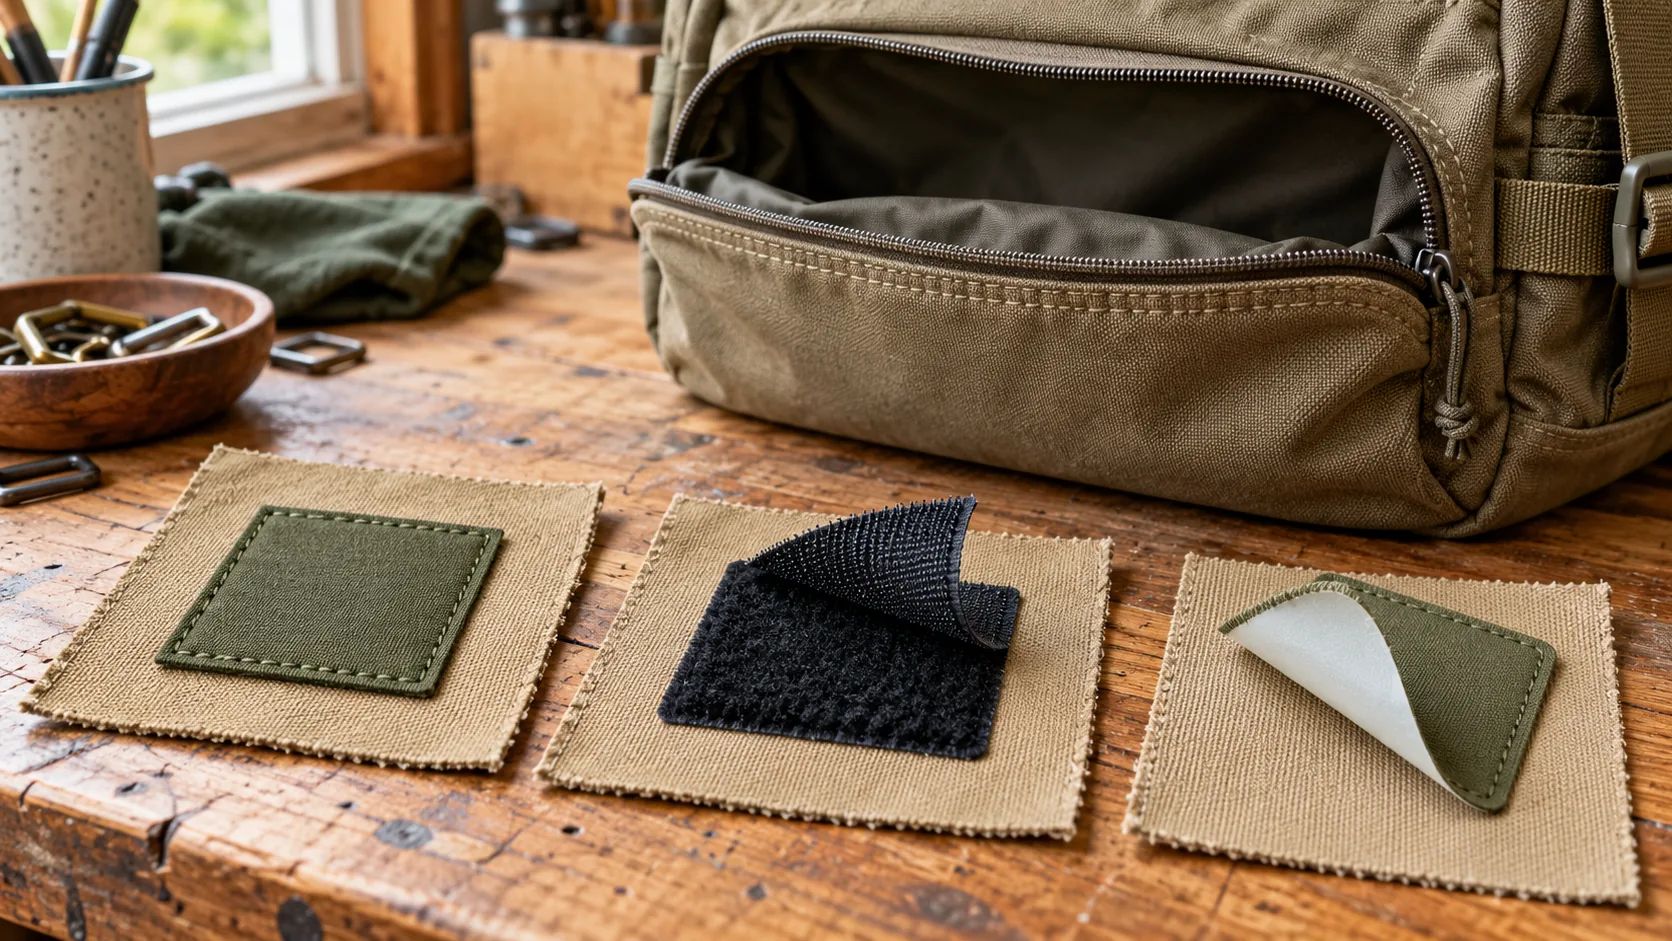
A sewn patch avoids an adhesive heat process, but it still requires needle access and changes the fabric. The stitches should not catch a lining unintentionally, distort the panel, cross a structural anchor, or pierce a water-protection layer without an approved solution. Removing the patch later can leave stitch holes.
A hook-and-loop patch is easy to swap when the backpack already has a compatible field. Adding that field is a separate decision: sewing introduces holes, while an adhesive version needs compatibility with the actual fabric and finish. The removable display patch does not make the underlying installation reversible.
An iron-on patch needs agreement between the backpack’s heat limits and the patch supplier’s process. There is no useful universal iron temperature for an unknown shell, adhesive, lining, and padding combination. A pressing cloth does not make an incompatible assembly suitable.
For the full compatibility and application workflow, read how to iron on patches on a backpack. This guide compares methods rather than repeating that tutorial. If the permitted heat process cannot be established, choose another attachment route.
Where Can Keychains, Tags, and Charms Be Attached?
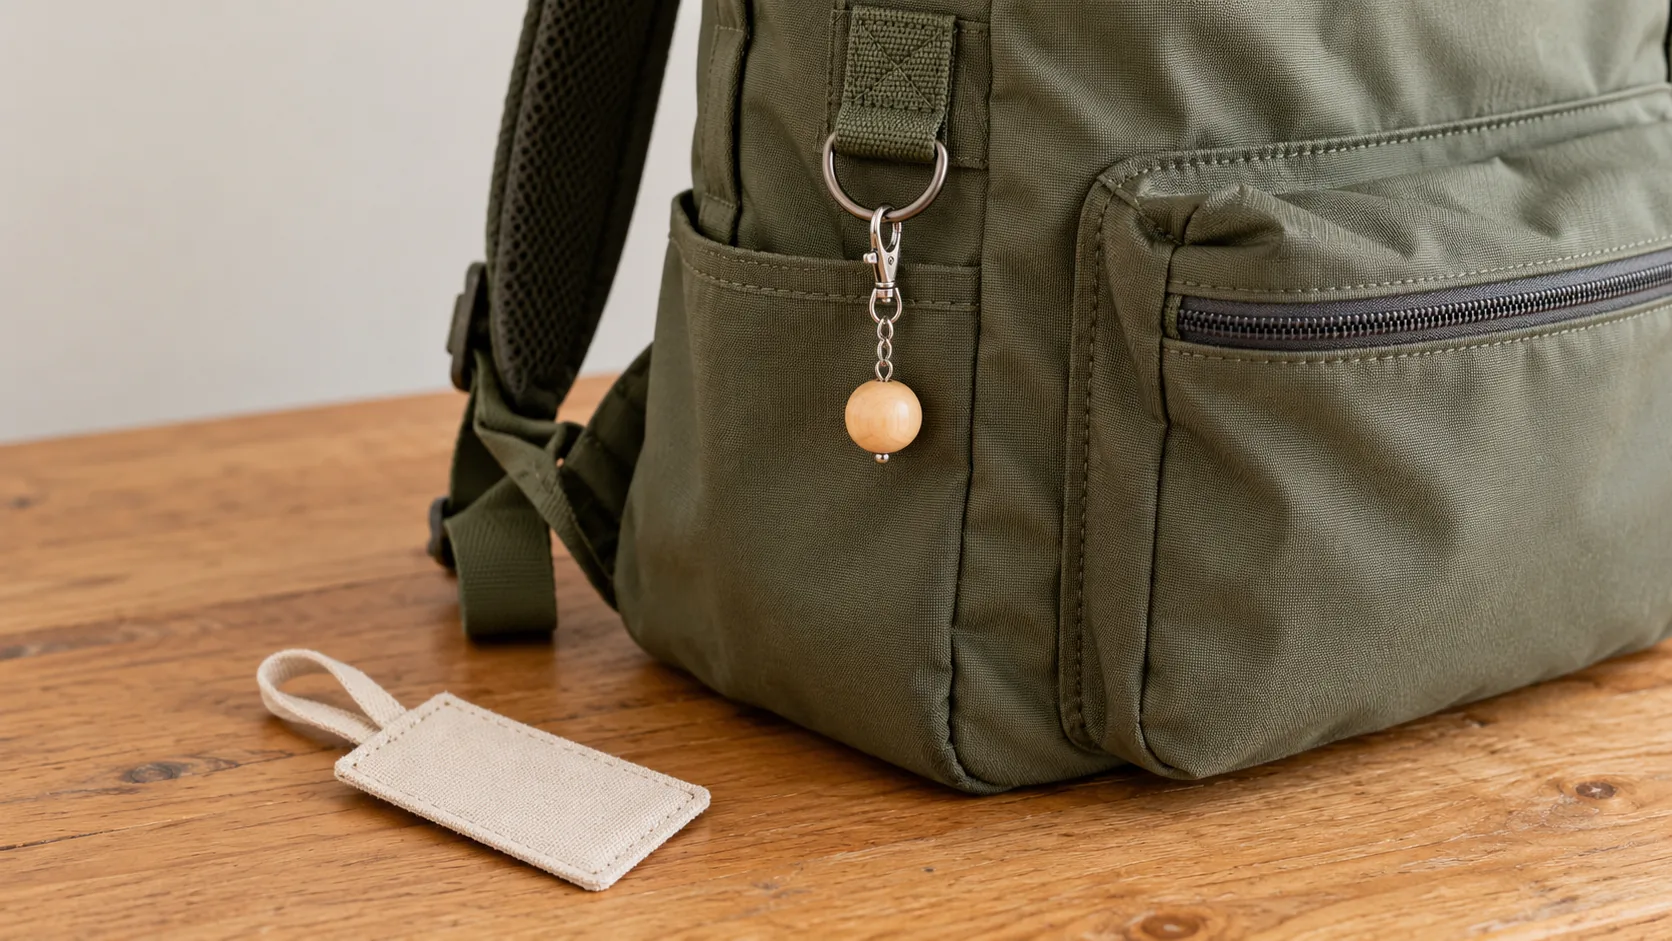
A clip-on accessory can avoid piercing fabric when it uses a suitable existing attachment point. That does not mean every zipper pull, webbing loop, or adjustment buckle is a decoration anchor.
Choose a short, light accessory with enough clearance to move without rubbing the shell or catching the zipper. Make sure its clip closes properly. Keep it out of adjustment paths and do not make a new hole just to add an anchor.
For technical bags, our guide to backpack attachment loops explains different attachment purposes. A decorative charm should not be treated as load-carrying equipment, and attaching it to a loop does not establish the loop’s strength.
Check the result while opening pockets and putting the bag on and down. An accessory that catches on clothing, seating, or a handrail can pull on its attachment. Removing it may leave the fabric unpunctured, but contact marks and hardware wear are still possible.
This is a general method-selection guide, not a child-accessory or school-label safety tutorial. Follow the relevant product’s age/use instructions and any applicable school rules rather than inferring child suitability from a decoration idea.
What Should You Know Before Using Paint, Dye, or Embroidery?
Paint, dye, and embroidery change the bag more substantially than an accessory clipped to hardware. Decide whether the entire application and care process suits the construction, not just whether the visible color looks right.
Fabric paints and markers do not all fix the same way. For example, Jacquard’s Textile Color guidance specifies heat setting for its normal route and identifies an additive alternative. That product-specific guidance does not supply a safe process for every assembled backpack. Follow the selected product’s current instructions and check the bag’s permitted treatment before use; do not add heat simply because a general craft guide says fabric paint needs it.
Test the actual fabric-and-finish combination. Check application appearance, flexibility, color transfer, and the permitted care routine after the required fixing or curing process. A successful color swatch does not demonstrate compatibility with hidden foam or coating layers.
Dye choice depends on fiber and finish. Rit’s own dyeable-material guidance distinguishes products for different materials, including natural and synthetic fibers. “All-purpose” does not mean every backpack assembly is dyeable, nor is dyeing limited to cotton alone.
The same maker advises against dyeing waterproof or stain-resistant finishes. A finished bag may also have different threads, linings, foams, trims, and care limits. Do not remove its protective finish or place an unknown padded assembly in a hot dye bath just to change the color. This article is not a dye formula or remover tutorial.
Embroidery requires suitable access, support, and control of needle penetration and tension. An assembled pocket may not fit the intended hoop or allow the lining to be separated. Where those conditions cannot be established, use a separately made patch or discuss the design with a competent embroiderer; do not force stitching through unknown padded layers.
How Do Brands Plan Decoration During Backpack Development?
Personalization after assembly inherits the bag’s existing limits. Production branding can be planned earlier so the artwork, panel, attachment, and care requirements are considered together. Some decoration can also be applied after assembly when equipment and access permit it; pre-assembly planning is a practical preference, not a claim that later application is impossible.
For an adhesive or heat-applied design, the relevant combination includes both surfaces and their finishes, the adhesive product, layer order, and edge construction. Settings belong to that particular system and its process instructions. Replacing a shell finish or adhesive can require the compatibility evidence to be reopened even if the decoration looks unchanged.
When discussing custom backpack development, separate what a sample shows from what must be measured or tested.
| Review item | What to record or check |
|---|---|
| Placement and alignment | Reference edges, position target, and agreed measurement/tolerance where needed |
| Artwork and color | Artwork version, color reference, and viewing conditions for appearance approval |
| Patch or print edge | Lifting, curling, fraying, or visible change under the agreed handling checks |
| Shell and coating | Discoloration, transfer, stiffness, distortion, or other observed changes; observation is not a diagnosis |
| Panel shape | Puckering or waviness after application and after agreed care checks |
| Snag exposure | Clearance against the actual pocket openings, harness, and intended surroundings |
| Care information | The permitted care route for the combined bag and decoration, supported by relevant evidence |
A position target, a dimensional tolerance, and an approved appearance sample do different jobs. Keep them separate in the specification. Approval of one sample provides a reference for later comparison; it does not guarantee that every production unit will match or establish untested wash durability. This checklist is a project-planning aid, not a statement of a fixed ZWbags process or confirmed decoration capability.
Frequently Asked Questions
Will pins ruin my backpack?
Pins puncture the panel and can leave visible marks or affect a coating. Whether that change is acceptable depends on the construction and your expectations. Keep pin backs away from protected contents and choose a non-piercing method if holes are unacceptable.
Which decoration is easiest to remove?
A light accessory clipped to suitable existing hardware is straightforward to detach and does not require a fabric puncture. Contact wear can still occur. Removing a sewn or adhesive loop field is a different task from swapping its display patch.
Can I decorate a waterproof or coated backpack?
Avoid changing its protective layers unless the bag maker and decoration instructions establish compatibility. A suitable clip-on accessory may avoid puncturing the shell, but it must not obstruct the opening or rub through the surface.
Do fabric paints and markers survive washing?
The answer depends on the selected product, fabric, fixing process, and care conditions. Follow its instructions; heat setting is not a universal requirement. A claim for a paint product does not establish wash performance on every backpack construction.
Should decoration be added during manufacturing?
Plan it during development when placement and repeatability matter across a product program. Application can be before or after assembly where access and the method allow it. Specify the combination, review the sample, and retain separate evidence for any durability claim.