
A bug out bag is a portable emergency kit prepared for a fast evacuation. It keeps the supplies, documents, and personal essentials you may need while moving from home to a safer place.
The bag is only one part of the plan. Its useful size and layout depend on who will carry it, where that person may go, how they expect to travel, and which supplies their household actually requires. Start with those decisions, then choose or develop the backpack.
What Is a Bug Out Bag?
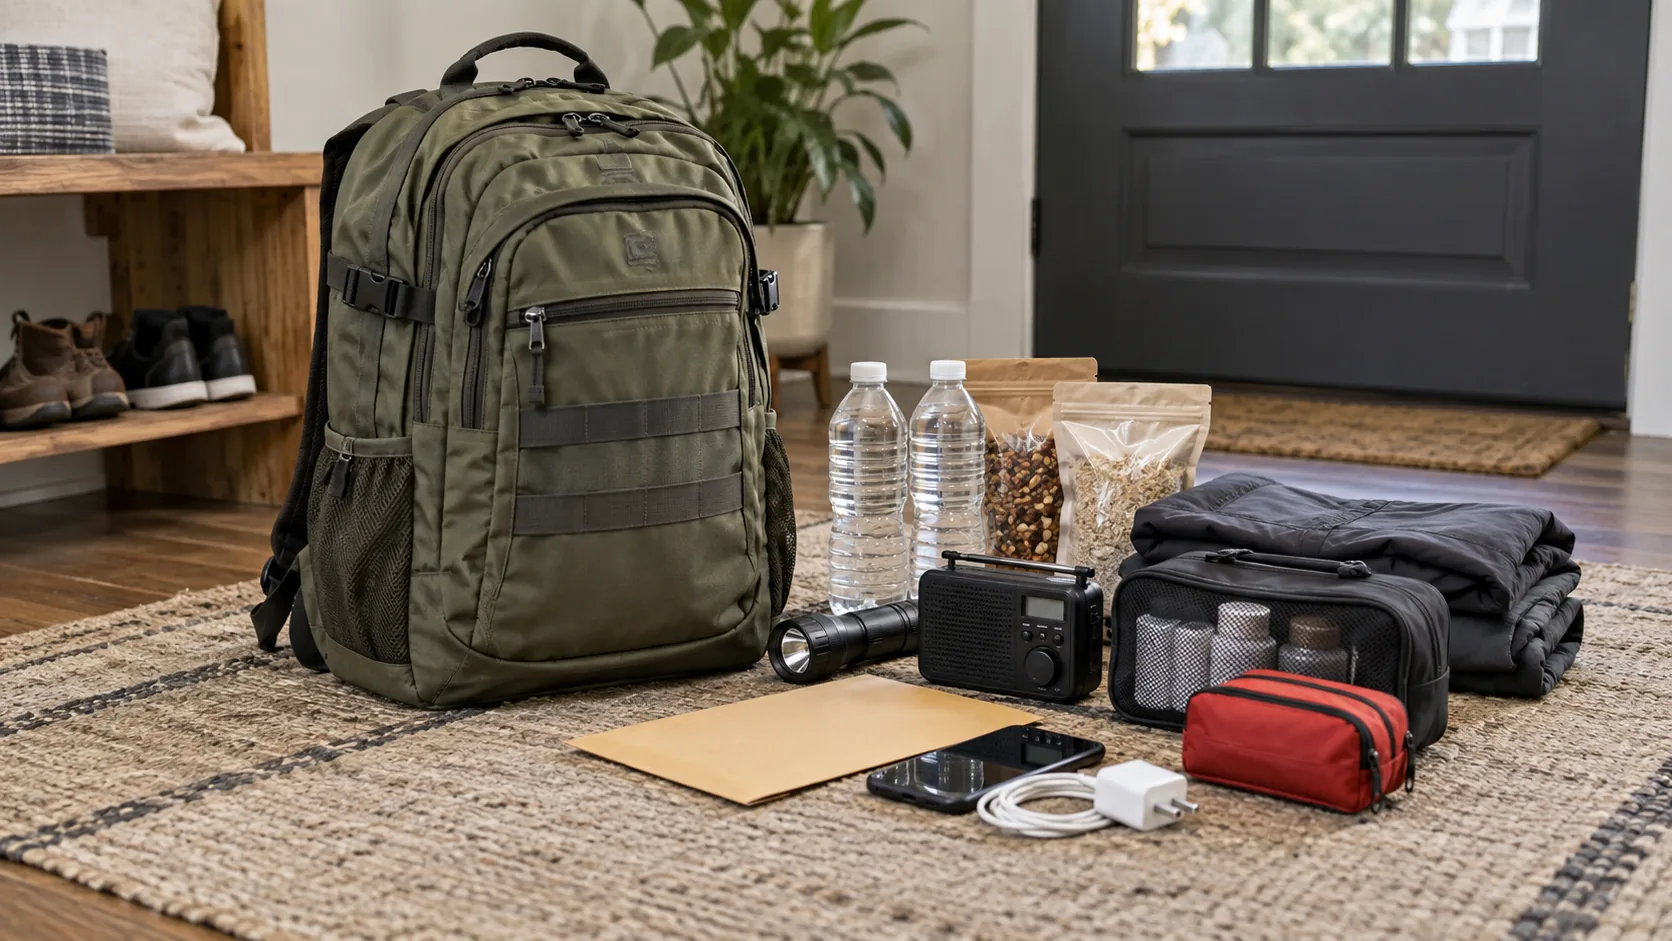
A bug out bag-also called a go bag, evacuation bag, or grab-and-go bag-is an easy-to-carry kit kept ready in case someone must leave quickly. It may contain water, food, communication tools, copies of important documents, clothing, hygiene items, and supplies for individual needs.
There is no single official bag style or universal packing list behind the term. A city apartment resident expecting to reach a public shelter has a different route and equipment need from a rural household leaving by car. Children, older adults, pets, disabilities, health needs, climate, and local hazards can all change the contents.
Ready.gov’s Build A Kit guidance tells households to consider their own needs and keep disaster supplies in one or two easy-to-carry containers. Its evacuation guidance also recommends preparing a go bag and following local officials’ instructions during an evacuation.
That is the practical definition: a portable container organized around a specific evacuation plan. It is not a substitute for alerts, routes, communication plans, or instructions from emergency authorities.
How Is It Different From an Emergency Kit?
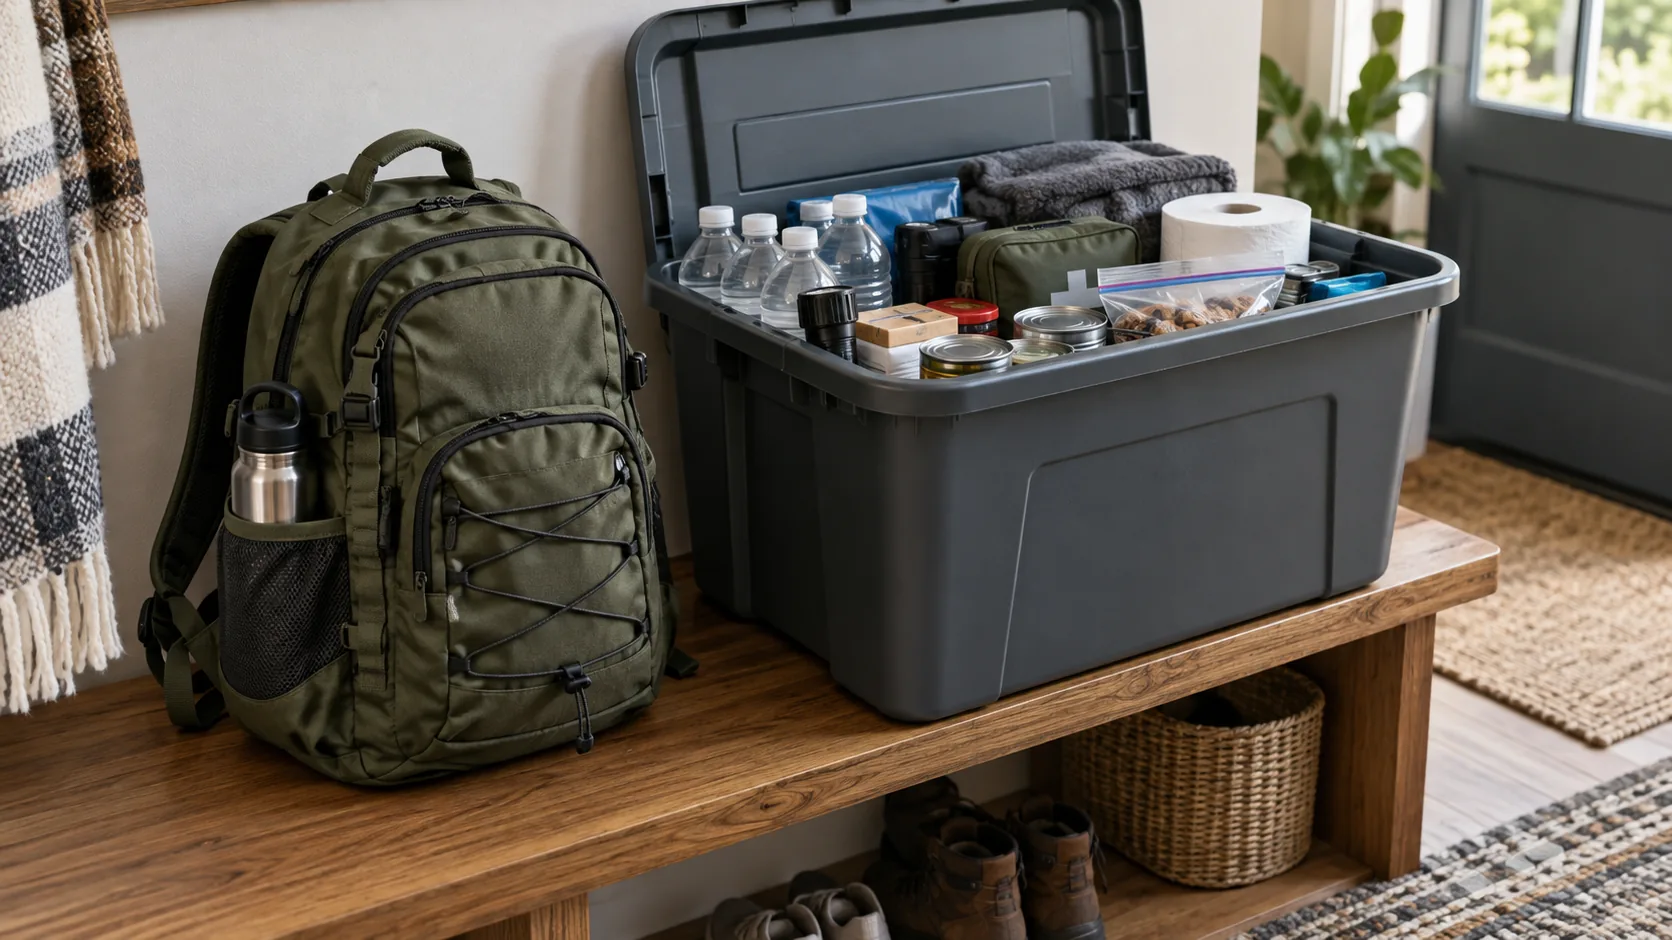
An emergency kit is the broader collection of supplies a household may need during a disruption. Some of it may stay at home, some may remain in a vehicle, and some may be packed for evacuation. A bug out bag is the portable part intended to leave with its user.
| Kit type | Primary use | Container decision | Main constraint |
|---|---|---|---|
| Home emergency kit | Staying in place through a disruption | Bins, cupboards, or other accessible storage | Storage life and household coverage |
| Vehicle kit | Delays or emergencies while traveling | Container that fits and tolerates the vehicle environment | Temperature, space, and secure storage |
| Bug out bag | Leaving quickly for another location | Backpack, duffel, or other easy-to-carry bag | Mobility, access, and the carrier’s ability |
| Everyday backpack | Routine work, school, or travel | Chosen for normal daily contents | Daily convenience rather than evacuation planning |
The same item may appear in more than one kit, but the container should match the job. The American Red Cross emergency-kit guidance likewise separates evacuation supplies from a larger home supply and advises using an easy-to-carry kit.
A tactical appearance does not make a backpack an emergency system. Webbing, dark colors, or a “heavy duty” label say little about whether the contents fit, whether the pack can be carried on the intended route, or whether critical items can be reached quickly.
What Should Determine Bug Out Bag Capacity?
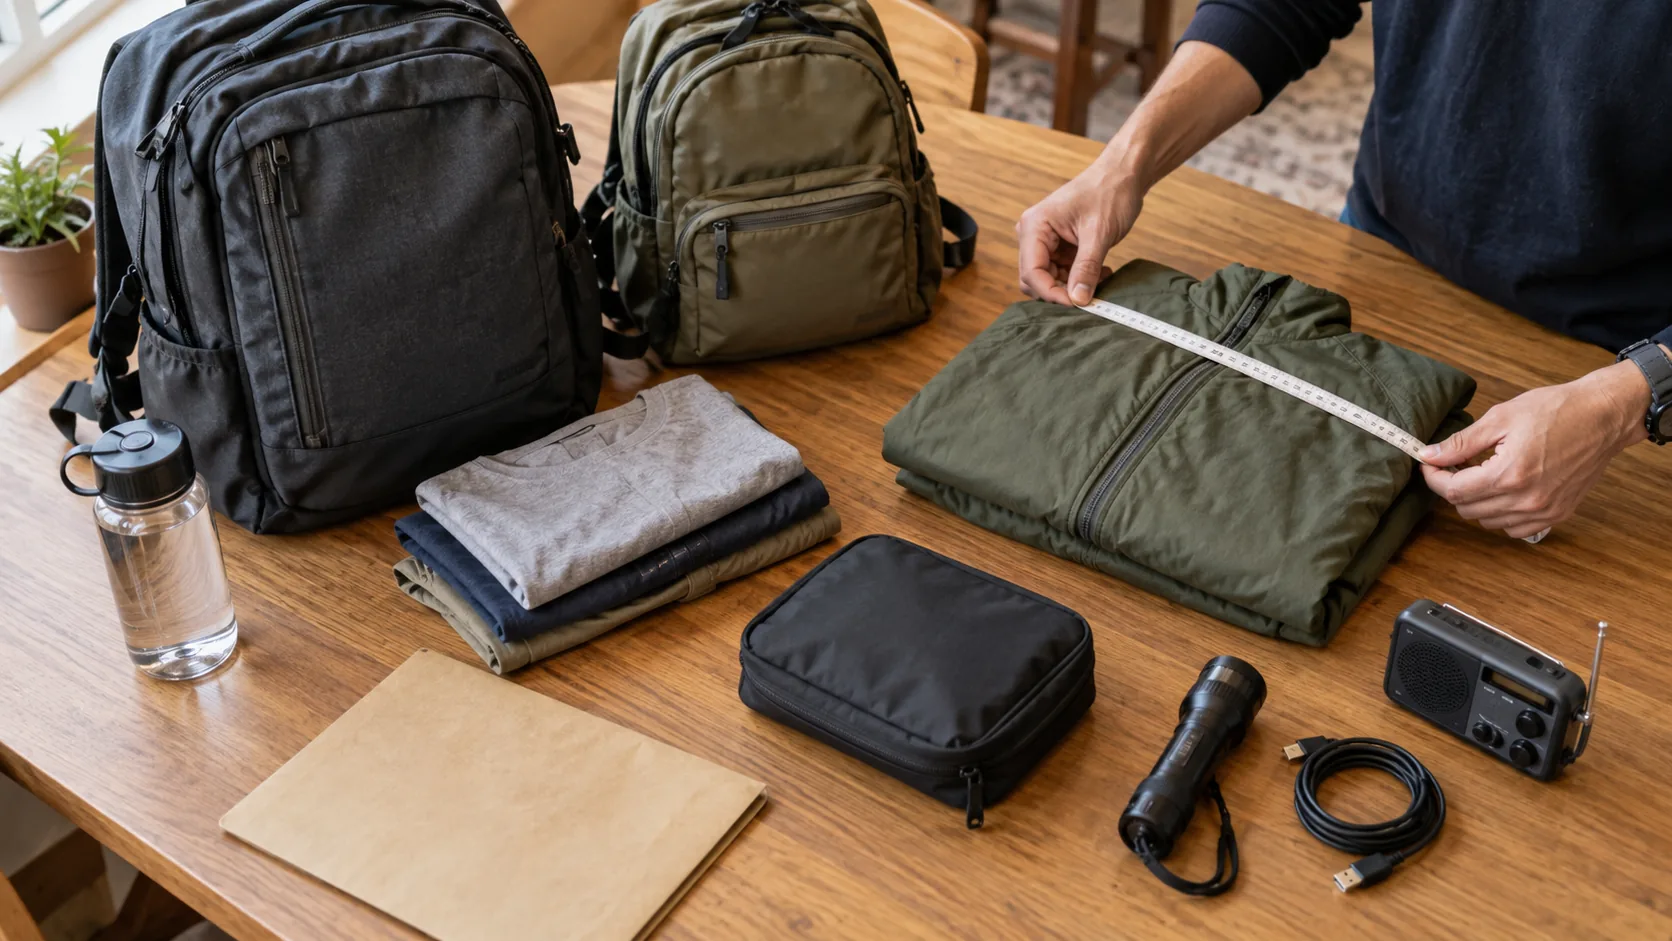
Capacity should be the result of a packing plan, not the first specification. A universal liter recommendation ignores major differences in route, climate, transport, household roles, and the carrier.
Start with six questions:
- Who will carry this bag, and are there mobility or medical considerations?
- Is the likely route on foot, by car, on public transport, or a combination?
- What hazards and weather conditions are relevant locally?
- Where is the likely destination: a shelter, hotel, relative’s home, or another planned location?
- Which contents must stay with this person, and which can be shared across the household?
- Are there supplies for children, pets, older adults, or powered medical equipment?
Lay out the intended contents before selecting the pack. Group them by access need, measure bulky objects, and test the real packed volume. This reveals awkward shapes and dead space that a nominal capacity number misses. The process is similar to the measured approach in our guide to how to measure a backpack: record the method and the packed state instead of treating one label as exact.
Then load the sample and remove anything that does not support the plan. A larger bag often invites extra contents, while a smaller bag can force critical items into external pouches or leave no room for seasonal changes. The useful target is not “as much as possible.” It is the planned kit in a form the assigned user can manage.
Which Compartments and Access Features Matter?
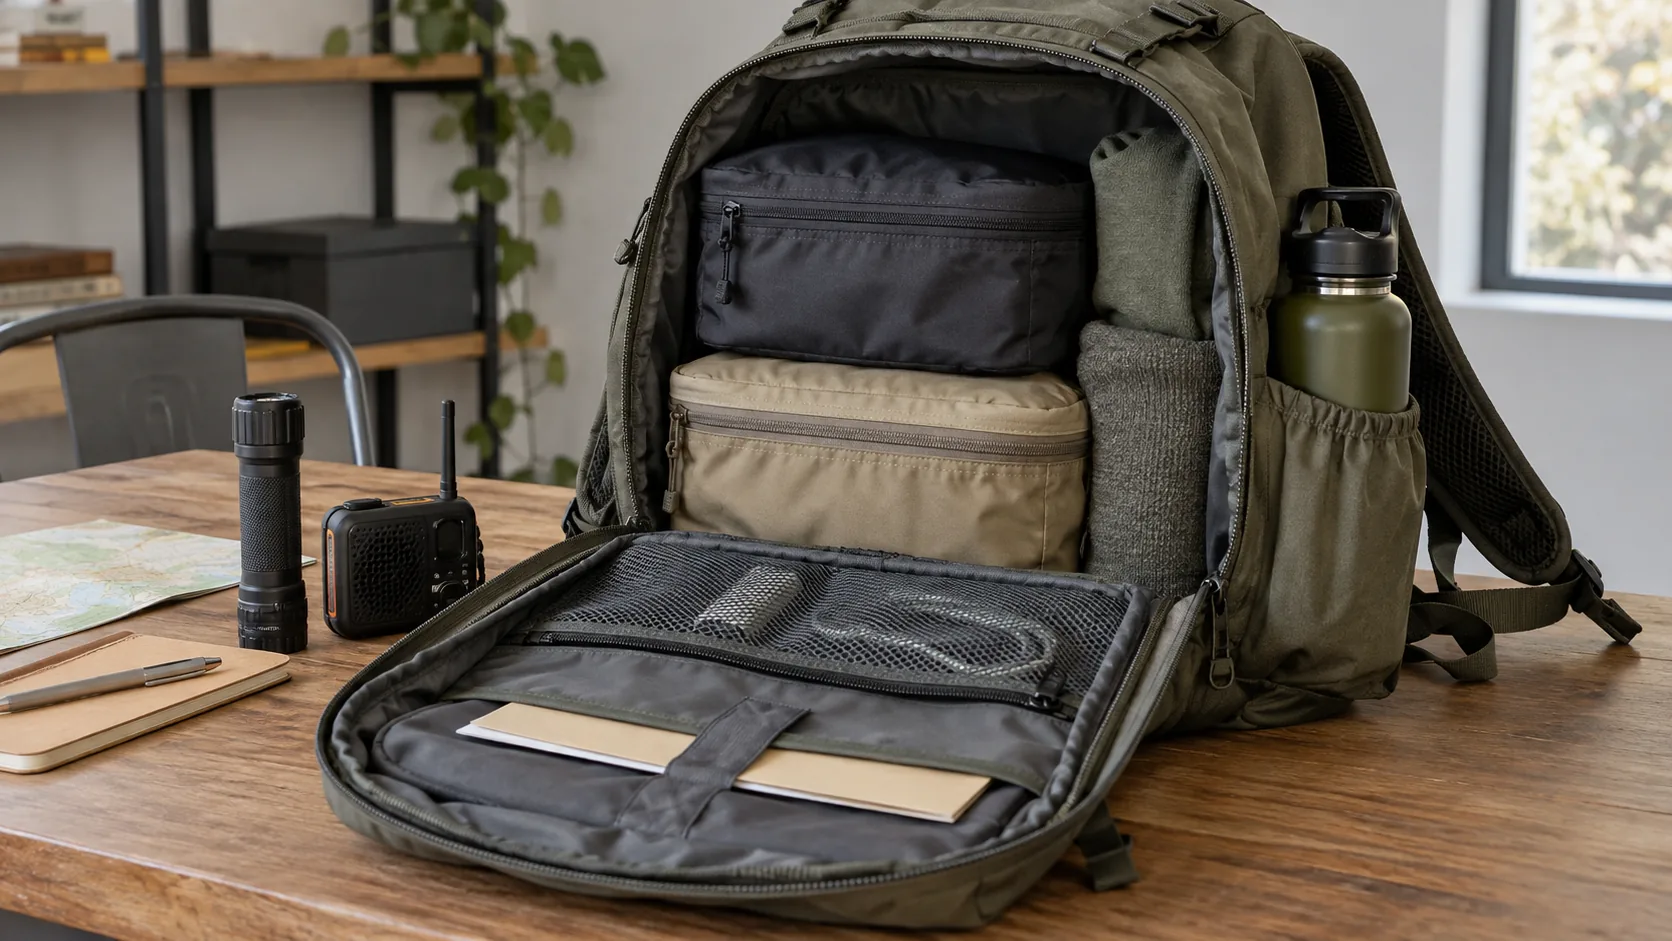
A good layout follows use order. It does not need the highest possible pocket count.
Map each content group to an access zone:
- Immediate access: communication tools, light, route information, and other items the user may need without unpacking the main compartment.
- Protected access: documents and electronics that benefit from a separate sleeve or sealed inner pouch.
- Main storage: clothing, food, hygiene supplies, and other bulky items that can be packed in modules.
- External access: bottles or wet items only where retention and exposure are acceptable.
- Personal or restricted access: items that should not be casually exposed or reached by children.
Openings should be evaluated while the bag is loaded. A clamshell opening can make modules visible, but it also needs space to open. A top-loading pack is simple, yet lower contents may be slower to reach. Multiple zippers improve access only if the sliders, pullers, end stops, and surrounding seams remain usable in the actual packed condition.
Color-coded pouches can help identify content groups, but loose organizers also consume volume. Use them where identification or moisture separation solves a real problem. The packing sequence in how to pack a tactical backpack provides a useful starting point for load placement and access order without turning the bag into a fixed checklist.
How Should the Carry System Match the Load?
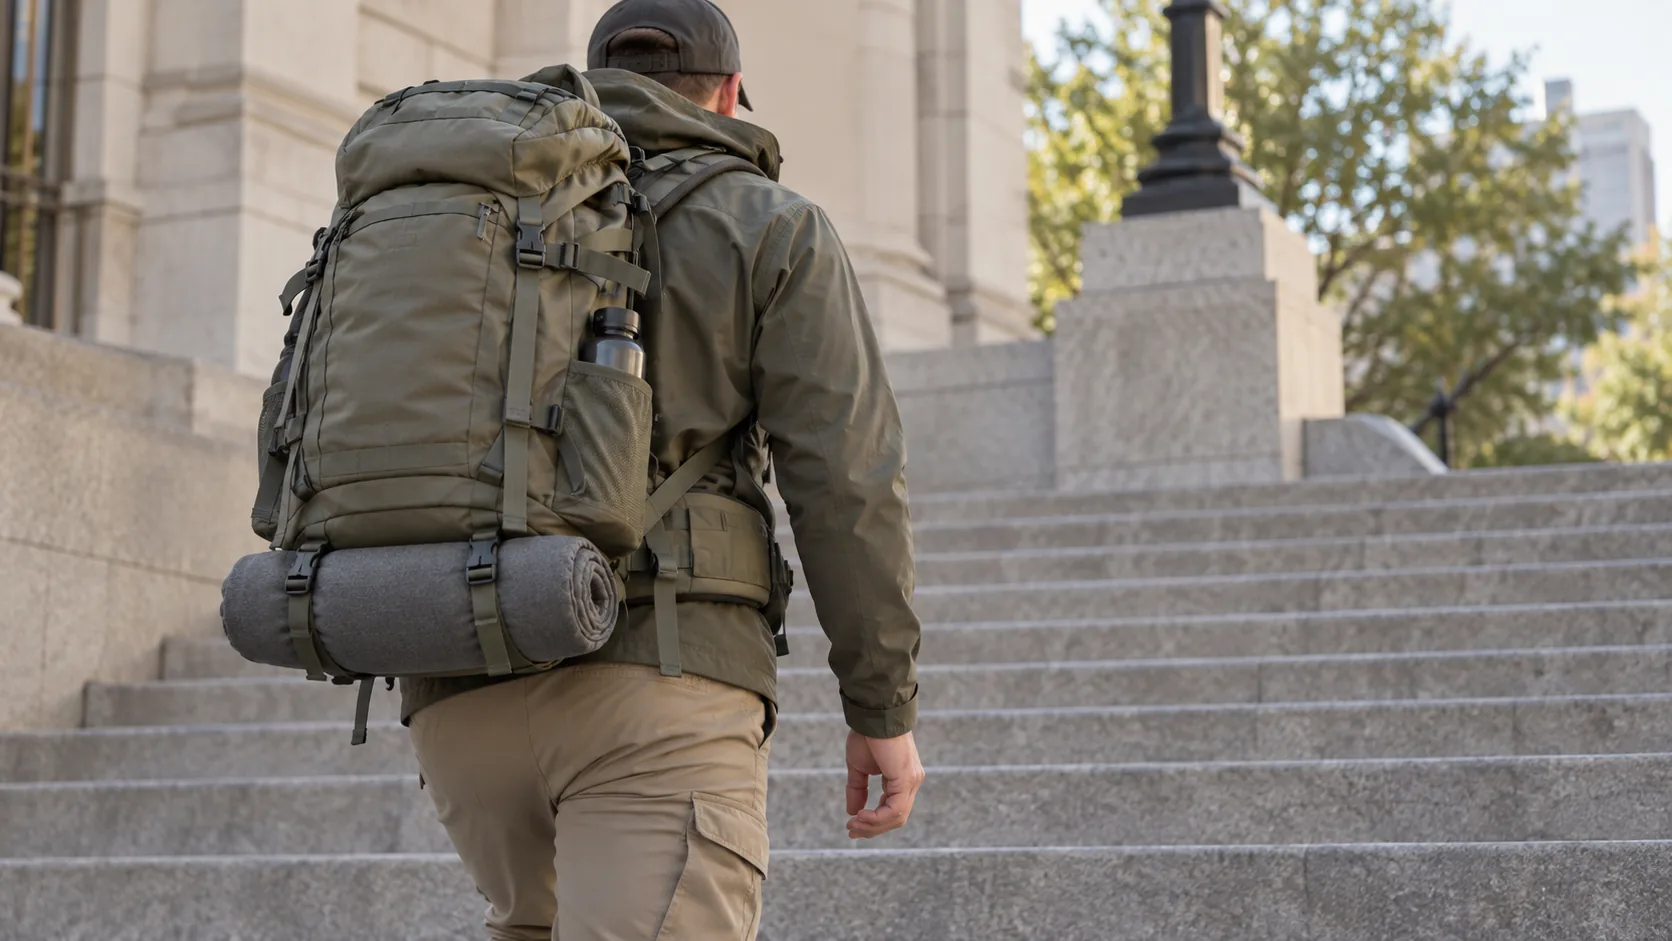
Judge the carry system with the planned contents inside. Empty-pack impressions hide how the back panel, shoulder straps, anchors, adjusters, and optional waist belt work together under load.
Check the following on each intended user:
- shoulder-strap shape and adjustment range;
- back-panel length and contact points;
- sternum-strap position and range;
- waist-belt placement, if the design uses one;
- strap slippage after walking, turning, and climbing stairs;
- clearance around the neck and arms;
- bag movement when changing direction;
- access to the release points while wearing gloves, if gloves are part of the scenario.
A waist belt can change how forces are distributed between the pack, shoulders, and hips, but no fixed transfer percentage applies across all users and configurations. Pack structure, load, belt placement, body dimensions, activity, and the measurement method all affect the result. “Comfortable” is therefore a user observation, not a complete engineering endpoint.
For product development, draw the actual load path from the bag body through reinforcement, seams, strap anchors, webbing, adjusters, and hardware. A strong buckle does not prove the installed assembly. Review the loaded sample for movement, adjustment, and visible deformation, then document any project-specific checks.
How Should Materials and Weather Protection Be Evaluated?
Material selection starts with the exposure scenario. Light rain during a short transfer, prolonged outdoor exposure, and accidental immersion are different conditions and need different construction and evidence.
A water-resistant fabric does not make the finished bag waterproof. Water can enter through needle holes, seams, zipper ends, openings, binding, logo attachments, webbing anchors, or other hardware. Map those paths before choosing a test.
Useful specification fields include:
- shell and lining material codes rather than only fiber names;
- coating or lamination construction where relevant;
- zipper and closure system;
- seam construction and any sealing process;
- base reinforcement and abrasion zones;
- drainage, cleanability, and drying requirements;
- the precise weather claim the finished bag is expected to support.
The guide to how to waterproof a backpack explains the distinction between treating a surface and controlling the complete bag system. For a development project, define the sample, packed state, orientation, closure state, exposure, inspection point, and pass/fail rule. Label that procedure as project-specific rather than presenting it as a universal bag-industry grade.
What Should Brands Verify on a Sample?
A product sample should answer questions that the material list and render cannot. Load it with the planned kit and check it in the intended use sequence.
Use this review order:
- Contents fit: confirm that required objects fit without distorting closures or blocking access.
- Access: retrieve priority items while the bag is packed and, where relevant, while it is being worn.
- Carry: adjust the sample on the intended users and repeat a defined movement route.
- Interfaces: inspect shoulder-strap anchors, handles, zipper ends, buckles, webbing routes, and high-stress seams.
- Weather details: review seams, closures, openings, attachment points, and the bottom panel against the stated exposure.
- Identification: confirm any owner label, internal checklist holder, visibility panel, or reflective detail required by the brief.
- Maintenance: confirm that supplies can be checked and replaced without dismantling the whole packing system.
An approved sample is a comparison reference, not a guarantee that every production unit will match it. Keep the approved sample version, written specification, change record, and production inspection fields aligned. If a supplier proposes a substitute component, reopen the affected fit, load-path, access, or weather checks rather than approving it by appearance alone.
For a custom program, a tactical backpack supplier should receive the evacuation scenario, content map, target users, access priorities, material and closure fields, and sample checks in one controlled brief.
Frequently Asked Questions
Is a bug out bag the same as a go bag?
The terms are often used for the same idea: a portable kit prepared for evacuation. “Go bag” is common in public emergency guidance, while “bug out bag” is common in preparedness and outdoor discussions. The contents should follow the plan, not the label.
How many liters should a bug out bag be?
There is no universal capacity. Lay out the supplies required for the intended user and route, group them by access need, and test the packed volume. Then confirm that the assigned person can carry the loaded sample.
What should be in a bug out bag?
Use current guidance from local emergency authorities and organizations such as Ready.gov or the Red Cross, then adapt it for household members, climate, route, destination, pets, health needs, and replacement dates. Our article on what should be in a tactical backpack helps translate a content list into practical bag zones.
Is a tactical backpack required?
No. A suitable backpack, duffel, or other easy-to-carry container may work. The deciding factors are contents, transport, access, carry ability, durability, and the relevant weather conditions-not a tactical appearance.
Should every family member have a separate bag?
That depends on age, ability, route, and household planning. Some supplies may be personal, while others can be shared. Avoid assigning a load without checking the individual who will carry it and having a backup plan if household members become separated.
How often should the bag be checked?
Review it on a schedule that fits the contents and local risks, and after any change in household needs, route, season, or official guidance. Check expiration dates, batteries, documents, clothing sizes, medications with the appropriate professional, and the bag’s closures and straps.
Turn the Evacuation Plan Into a Bag Brief
Write down the user, route, transport, destination, climate, likely duration, shared supplies, personal supplies, and access priorities. Then attach a measured content list and mark which requirements belong to the bag, which belong to inner organizers, and which belong to the wider emergency plan.
That brief gives a developer something testable. Capacity comes from the contents; compartments come from access order; the carry system comes from the user and load; weather protection comes from the exposure; and production approval comes from a controlled loaded sample.